Every person who's ever left you a chat message will end up in your Contacts section. Think of it as a complete list of all the users that you had communication with.
Moreover, if you integrate our User Authentication mode with your login system, all your registered / logged-in users will automatically fall into the Contacts section.
There are also two ways you can add new contacts manually:
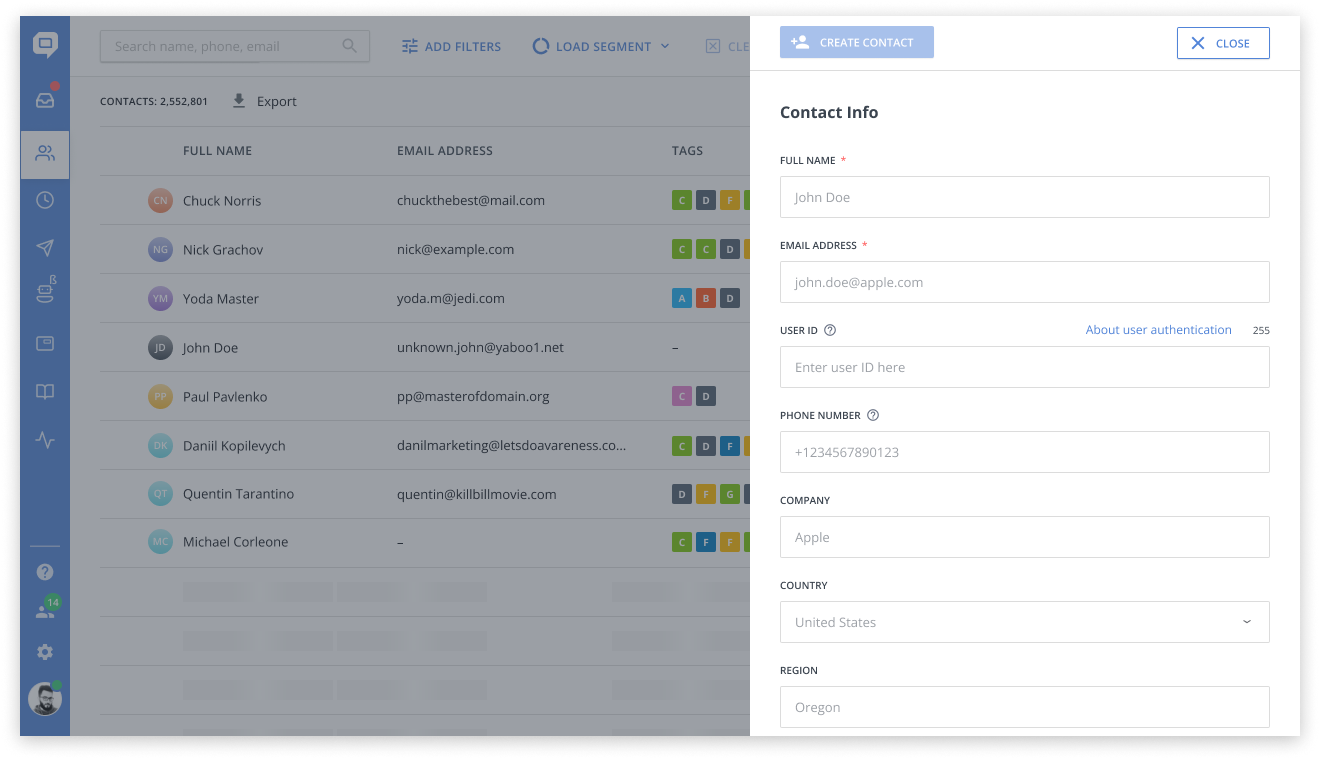
1. Add contacts one by one
Click the 'Add contact' button → ‘Add manually’ and fill in the form that will appear. There are only two required fields in this form — name and email address. The rest of the fields are optional.
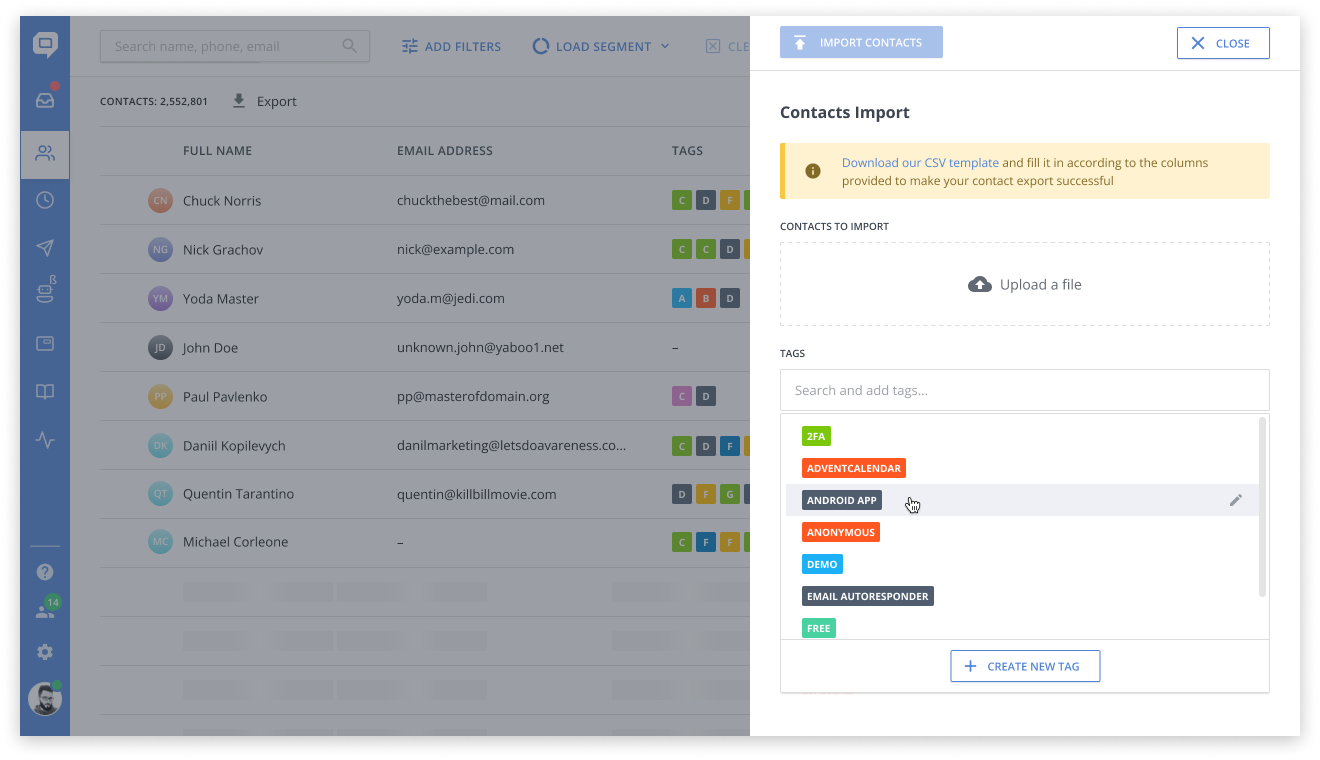
2. Import a list of contacts from a .csv file
If you're migrating from another solution or just happen to have all your contacts in one CSV file, you can upload them altogether to your HelpCrunch admin panel. Just click the 'Add contact' button → ‘Import from CSV’.
You can add a tag for the uploaded contacts so that it would be easier to differentiate them from the rest of the contacts.
⚠️ Kindly review the essential details regarding the import of contacts:
- No matter how you add contacts, if you're using User IDs, make sure they’re unique for each user.
- Imported contacts are compared with existing contacts to identify any duplicates. This comparison is done using the User ID and email address fields. If a duplicate contact is detected, its details will be modified based on the values in the CSV file.
- We also attach our own CSV template to the uploading form. Please take a look at it and name your columns in the same way as it's specified in our template. This way, you can ensure your data will be imported properly.
- If you need to import values for custom data, you first need to create these fields in Settings → Contacts → Custom attributes. In your CSV file, name the columns
custom_data.{string_field_key}.{string_field_key}is the key to the field you created. -
To import a contact with multiple tags, enter all tags in the Tags field. Enclose them in double quotation marks and separate each tag with a comma (without spaces).
Example:
Tags:- Tag with space 1
- Tag with space 2
Correct format:
"Tag with space 1,Tag with space 2"
That's it! If you need help with importing or adding new contacts, just hit our chat button — and we'd be happy to help.