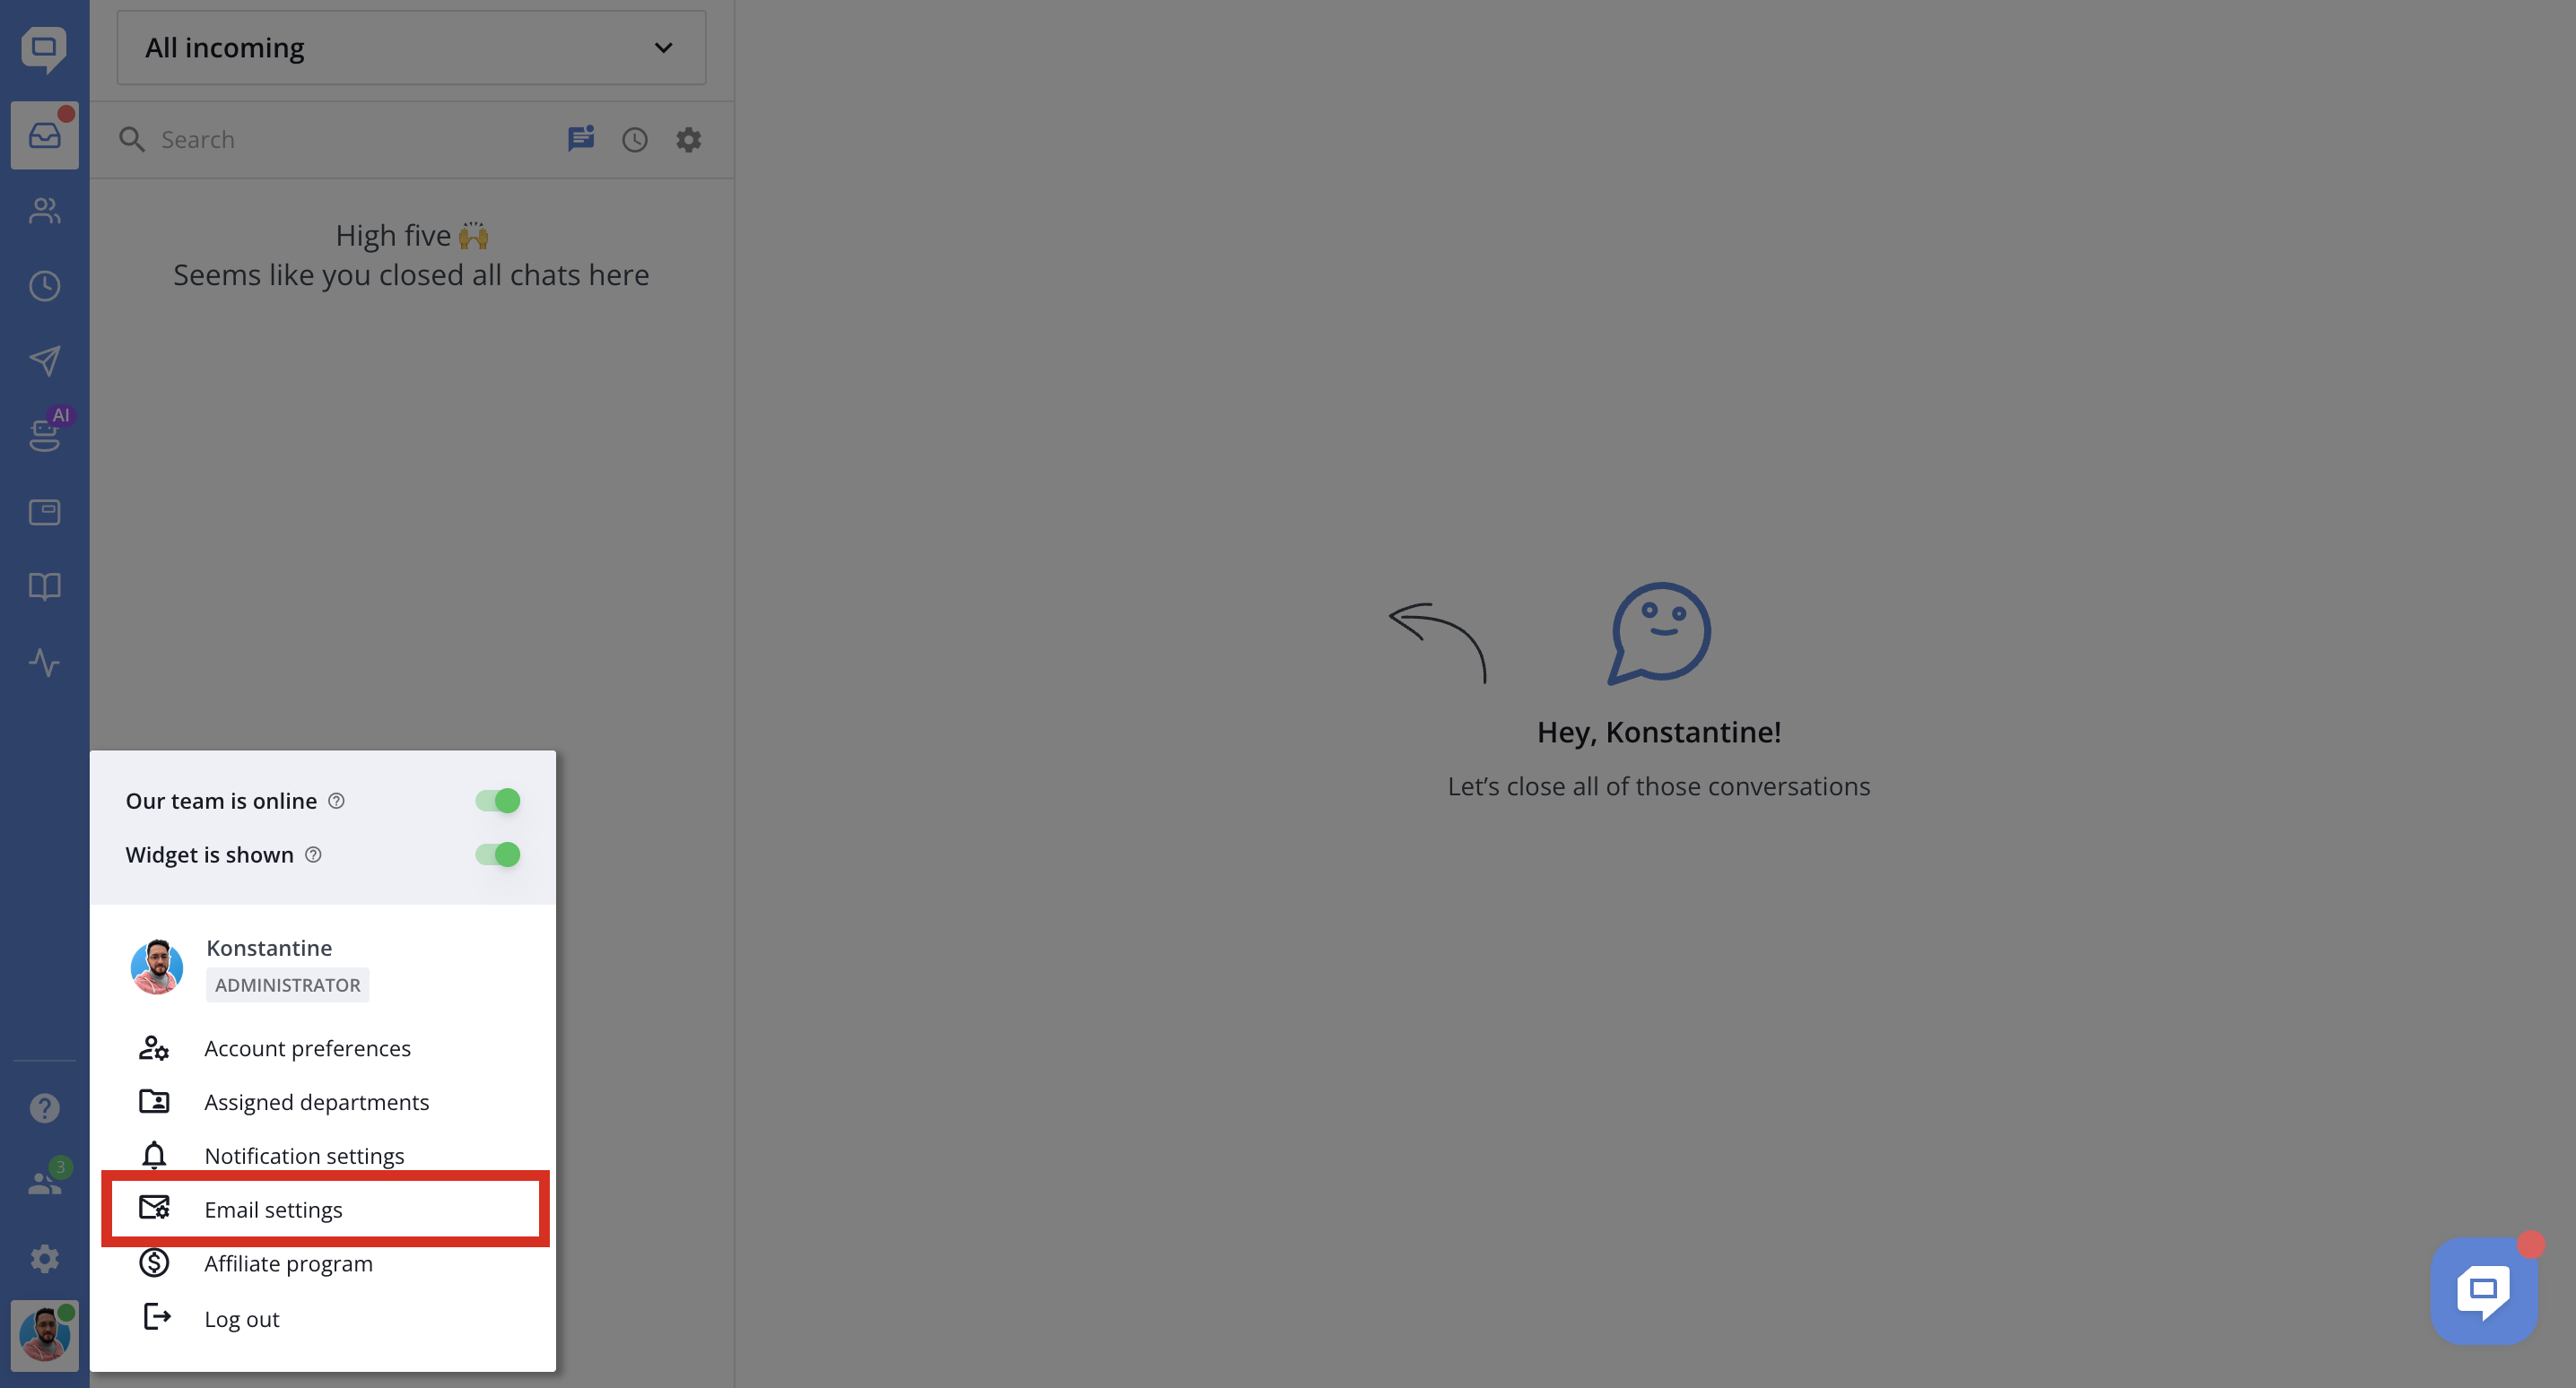
To get started, click your profile icon in the bottom-left corner of the dashboard and go to My account → Email settings.
General
Default sender email address
Customize the part before @ in your default HelpCrunch email address. The HelpCrunch domain is displayed next to the editable field.
For example: Konstantine@yourcompany.helpcrunch-mail.com.
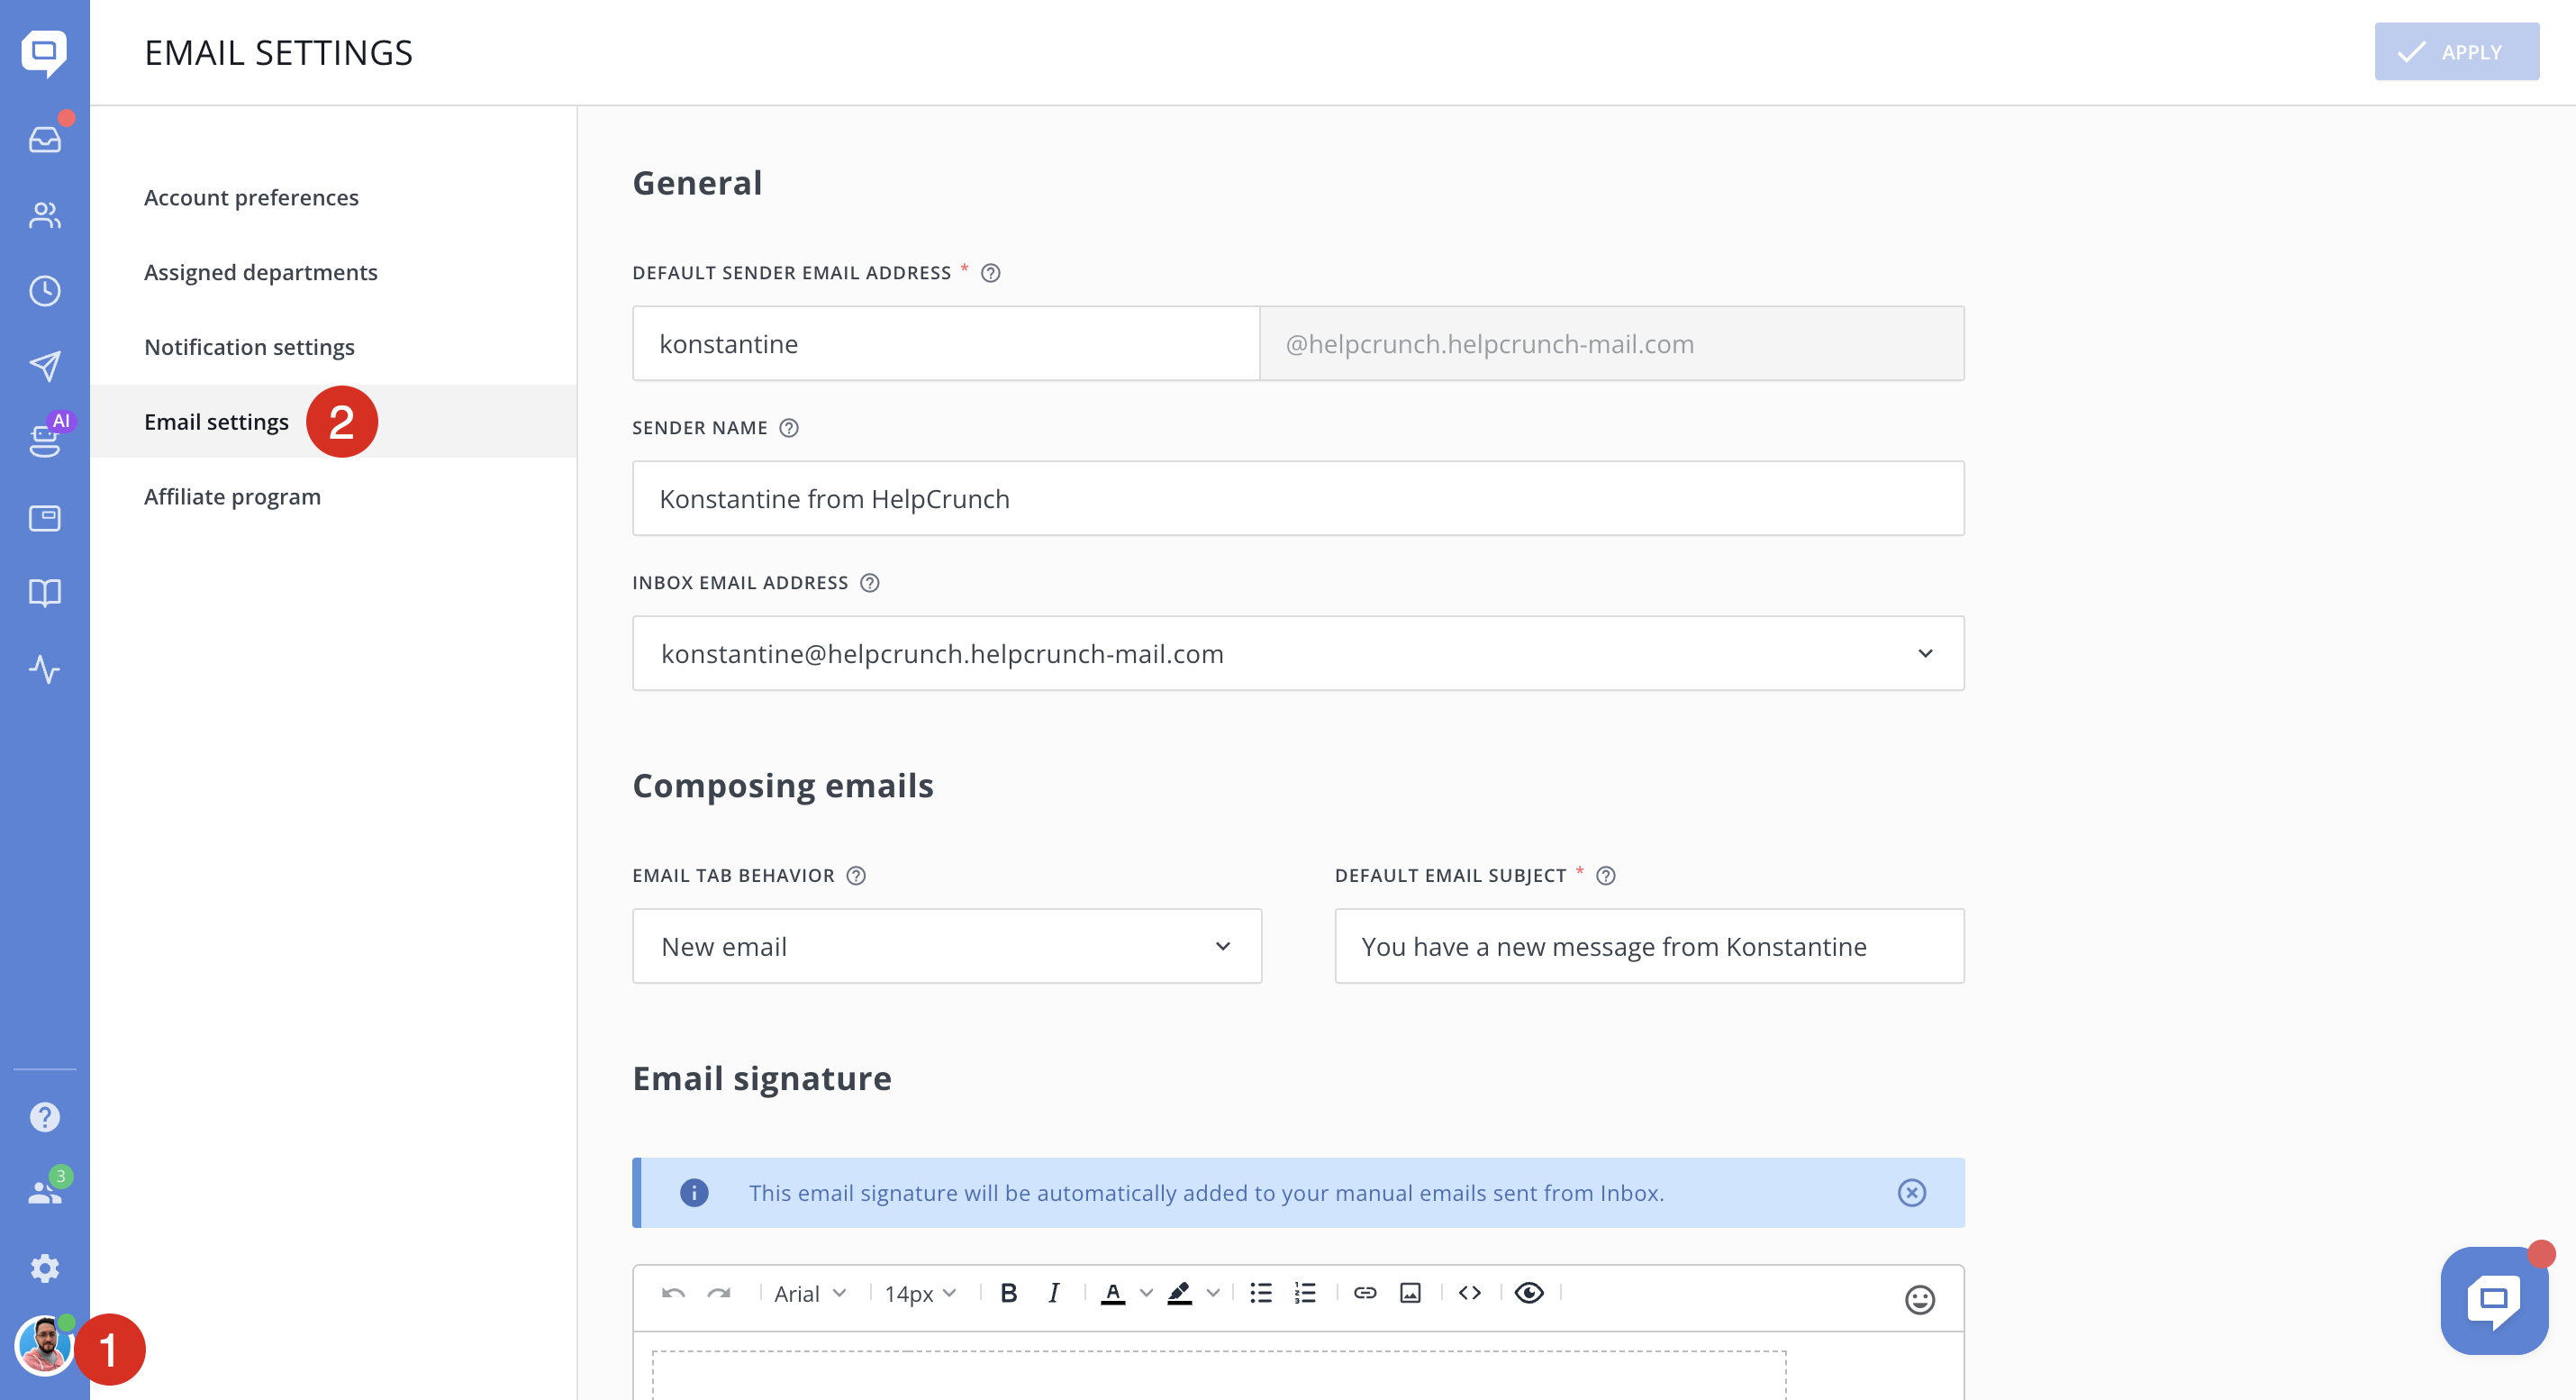
Sender name
Enter your sender display name, such as Konstantine from Your_Company, to help customers recognize who is contacting them.
Inbox email address
Choose the sender email address you want to use by default when sending emails from Inbox. You can select:
-
Your default HelpCrunch email address.
-
A custom email address on your company's domain, such as [email protected].
To use a custom address, an administrator or supervisor must first add it, verify the domain, and assign you access to the address. See Custom email domains for setup instructions.
Composing emails
Email tab behavior
Choose what happens by default, when you open the Email tab in an Inbox conversation:
- New email (selected by default) – For composing a new email. Opens a new email with the subject from Default email subject field and an empty message body, without quoted messages.
- Reply to the last customer email — Automatically prepares a reply to the most recent email received from the customer in that conversation. The customer's email subject is preserved, and their message is quoted in the email body.
If the conversation has no emails from the customer, "Reply to the last customer email" option works like "New email": it uses your Default email subject and opens an empty message body without quoted messages.
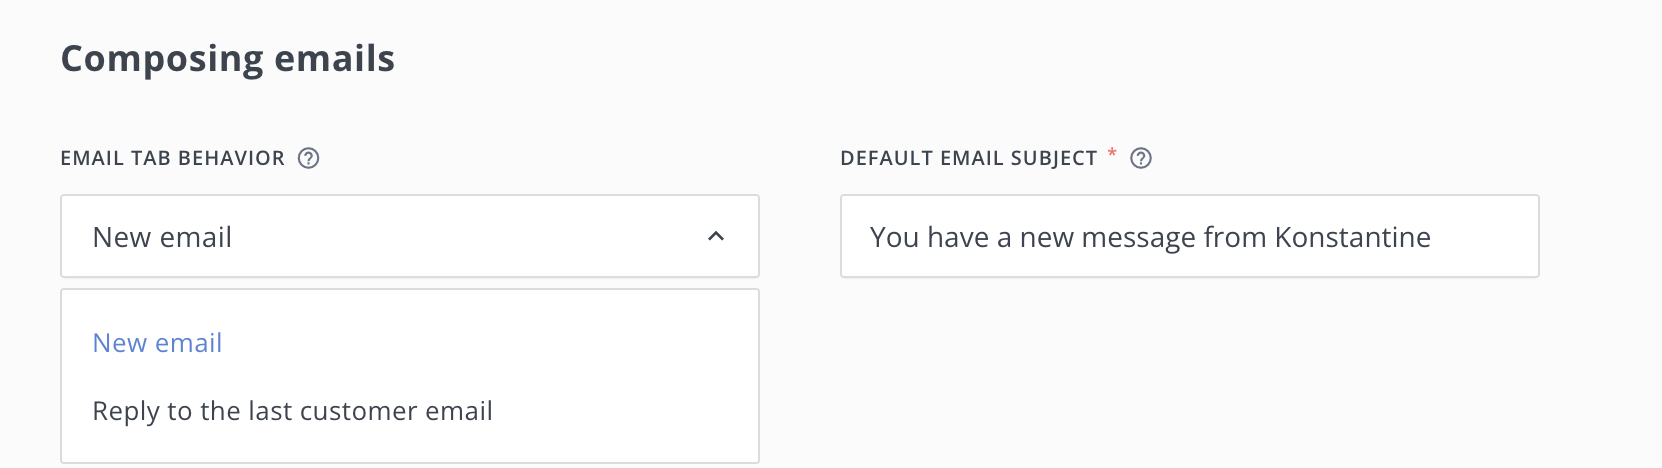
Default email subject
Set the subject line used when composing a New email from Inbox.
For example: You have a new message from Konstantine.
This field always remains enabled and editable, regardless of the selected Email tab behavior option.
Email signature
Create a personal signature that HelpCrunch automatically adds to emails you send manually from Inbox. You can include your name, job title, company, and contact details.
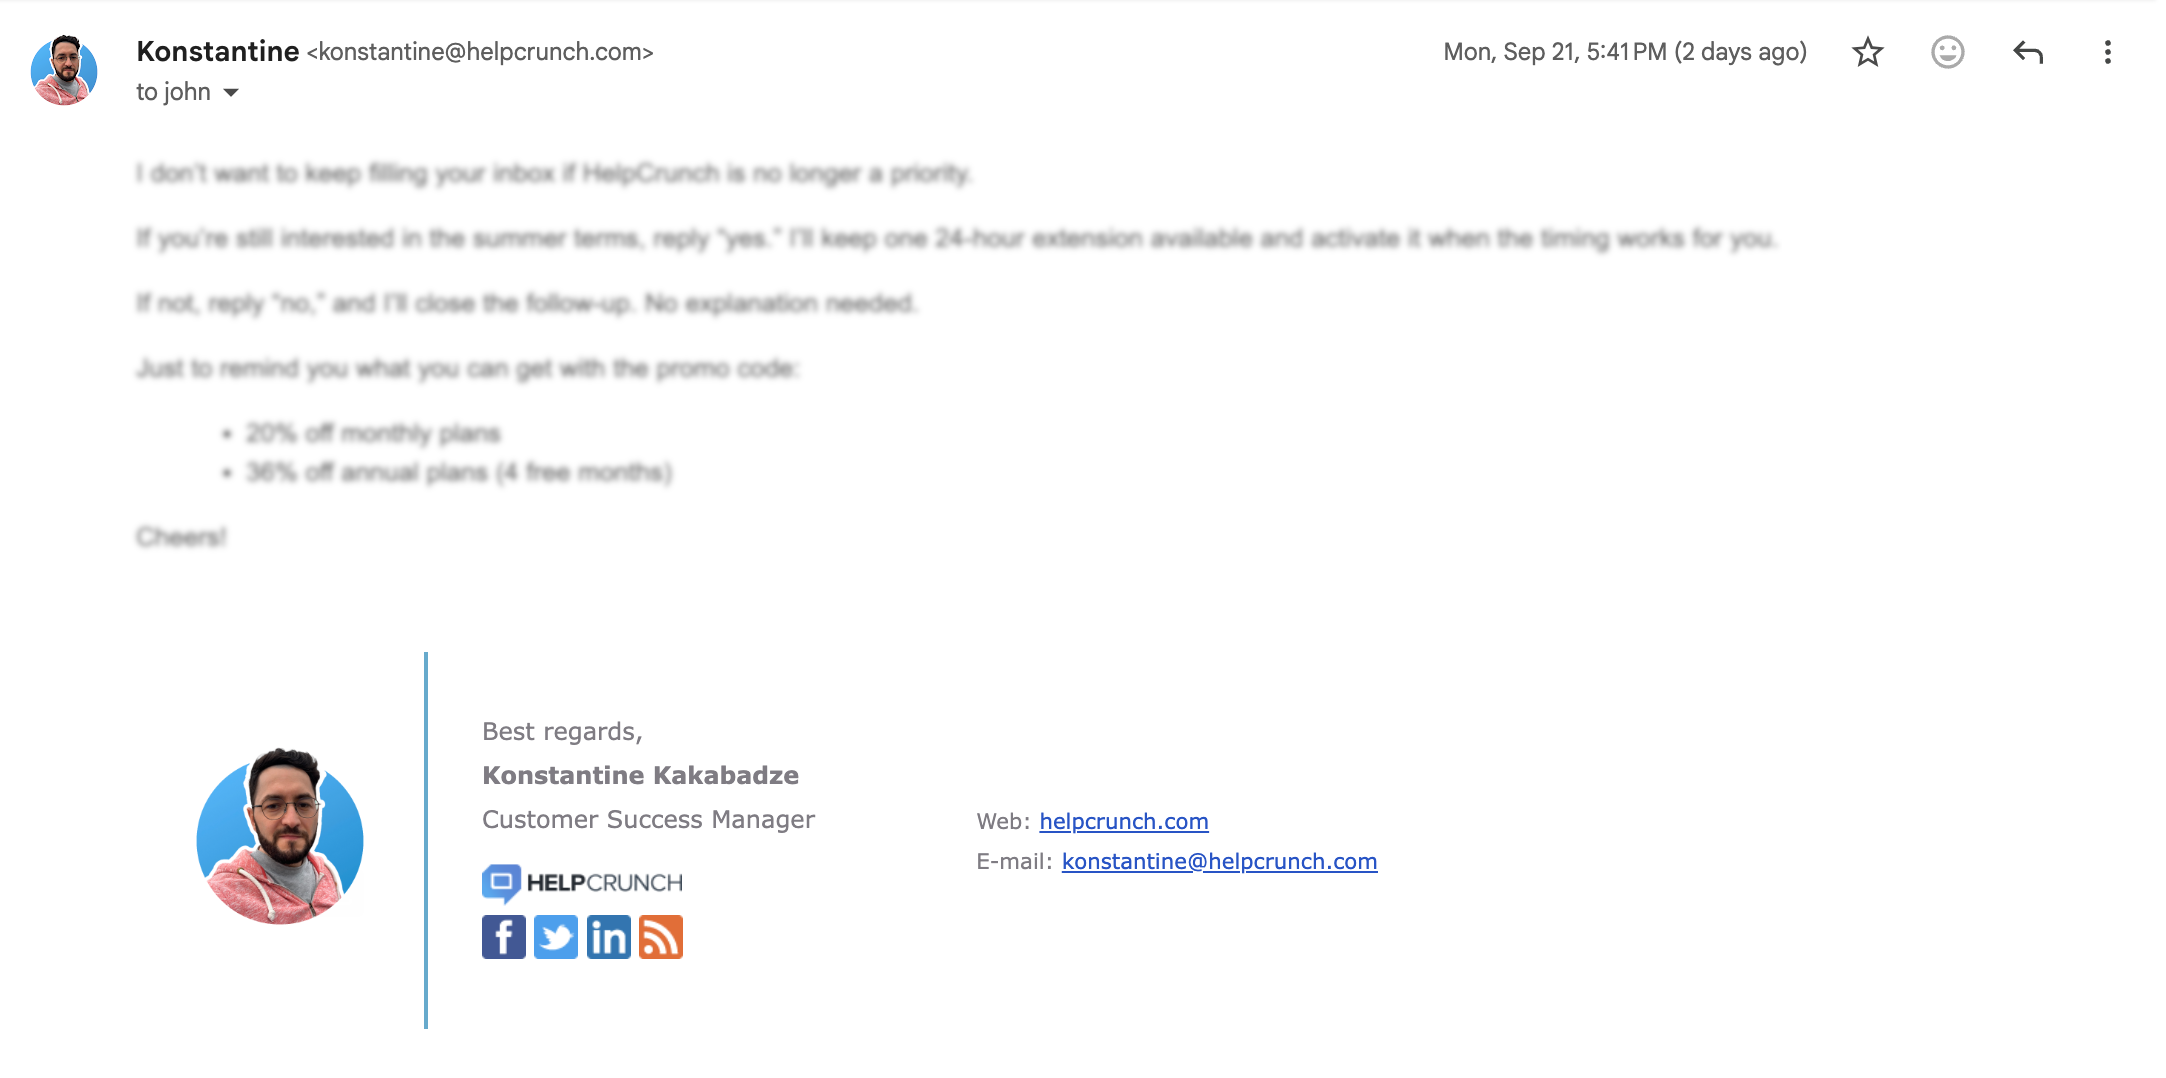
Use the editor to format text, add links and images, or edit the signature's HTML. The preview option lets you check how your signature looks.
When you're done, click Apply in the top-right corner to save your settings.
