User authentication mode provides a seamless experience for a business and for a customer across different devices. It offers continuity across web, iOS and Android platforms and lets you keep all interactions with a given customer in the same chat thread, no matter what device he/she is logged in from.
User authentication mode also helps make sure that one user can’t impersonate another and therefore we strongly recommend all our clients to enable this mode.
Common usage
The most common usage of the User authentication mode is to integrate it with your registration/login system. You can install HelpCrunch chat widget on your landing page to chat with your visitors, for example, and inside your service (in-app messenger) to support your registered users.
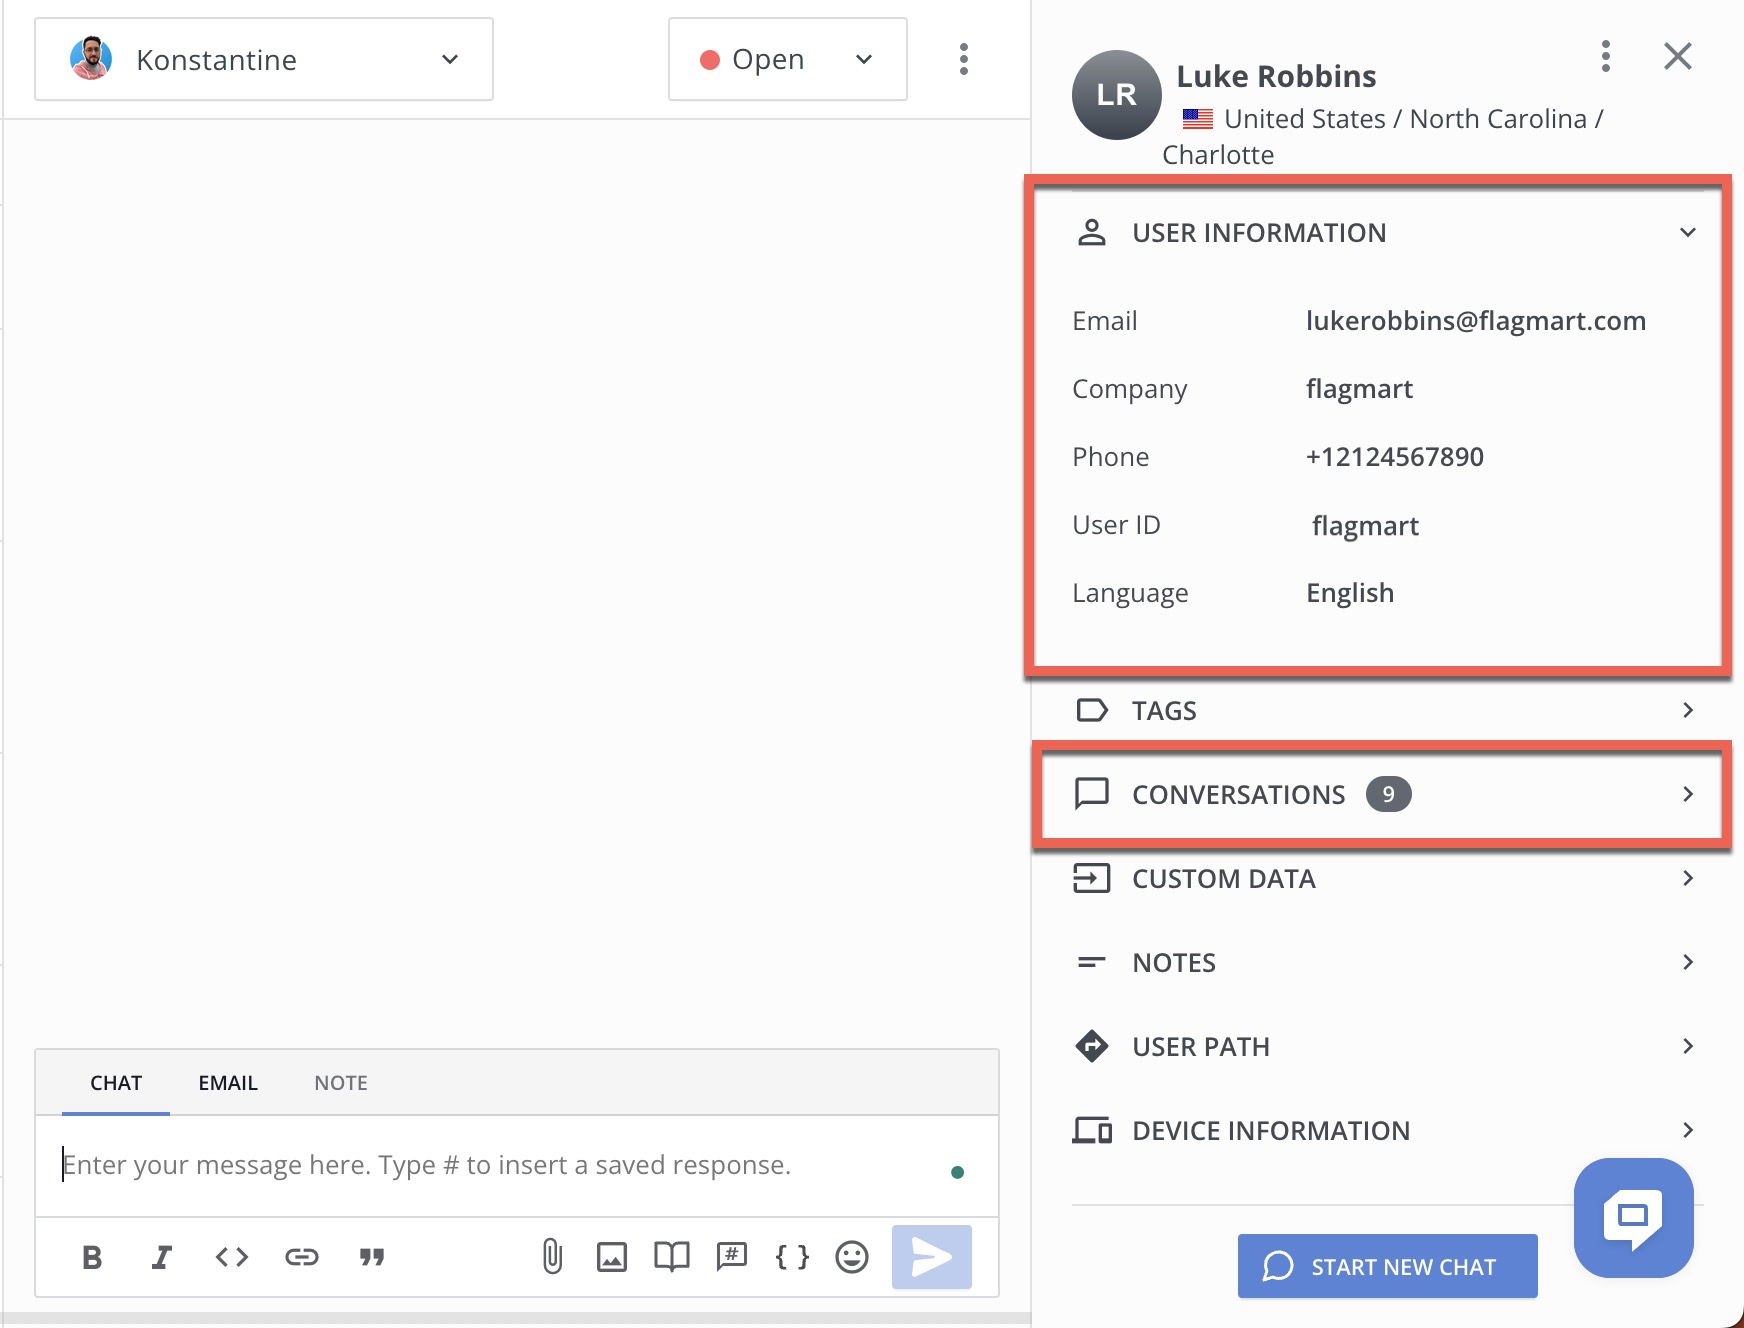
Once your visitor registers/logs in with your service and gets a User ID in your database, you can enable the User authentication mode for that user. After that, such users will automatically appear in the "Contacts" section even if they had no chats with you previously, and you can reach out to them first.
The simplest way of doing user authentication
Example of the full widget code together with the user auth mode and custom data:
<script type="text/javascript">
  window.helpcrunchSettings = {
    organization: 'helpcrunch',
    appId: 'a47f724b-bh1f-4504-7fa7-0fbf7dg84kb0',
    user: {
      user_id: 'userOneHash',
      name: 'User One',
      email: '[email protected]',
      phone: '+380123456789',
      company: 'my company',
      custom_data: {
        is_active: true,
        money_spent: 2500,
        subscription: 'gold',
        accepted_agreement: true,
      },
    },
  };

</script>

<script type="text/javascript">
  (function(w,d){var hS=w.helpcrunchSettings;if(!hS||!hS.organization){return;}var widgetSrc='https://'+hS.organization+'.widget.helpcrunch.com/';w.HelpCrunch=function(){w.HelpCrunch.q.push(arguments)};w.HelpCrunch.q=[];function r(){if (d.querySelector('script[src="' + widgetSrc + '"')) { return; }var s=d.createElement('script');s.async=1;s.type='text/javascript';s.src=widgetSrc;(d.body||d.head).appendChild(s);}if(d.readyState === 'complete'||hS.loadImmediately){r();} else if(w.attachEvent){w.attachEvent('onload',r)}else{w.addEventListener('load',r,false)}})(window, document)
</script>
helpcrunchSettings has next parameters:
- organization: string (required)
- appId: sting
- user: object (see below)
user object parameters
- user_id: string
- name: string
- email: string
- phone: string
- company: string
1. user_id attribute must be unique (i.e. not available for other users) as someone might get access to the conversation knowing it.
2. To be sure no one substitutes the user ID to view another person’s chat history and chat under their name, hash your user Ids with the hash salt and put this hash to user_id field instead of a real ID.
custom data object parameters:
Here you can send any additional user information, like subscription type, number of payments, registration or order dates, etc...
1. Create custom attributes in HelpCrunch settings
2. Update custom attributes during the user authentication, or later.