The HelpCrunch Inbox is your ultimate stop for all chats and emails that anyone has ever sent you. It is divided into smaller inboxes like All incoming, Unassigned, New, Pending, On-hold, My opened, My pending, etc. Depending on their status and assignee, each chat moves from one inbox to another until it’s resolved and ends up in the Closed folder.
Moreover, you can create your custom inboxes for better chats’ distribution and prioritization.
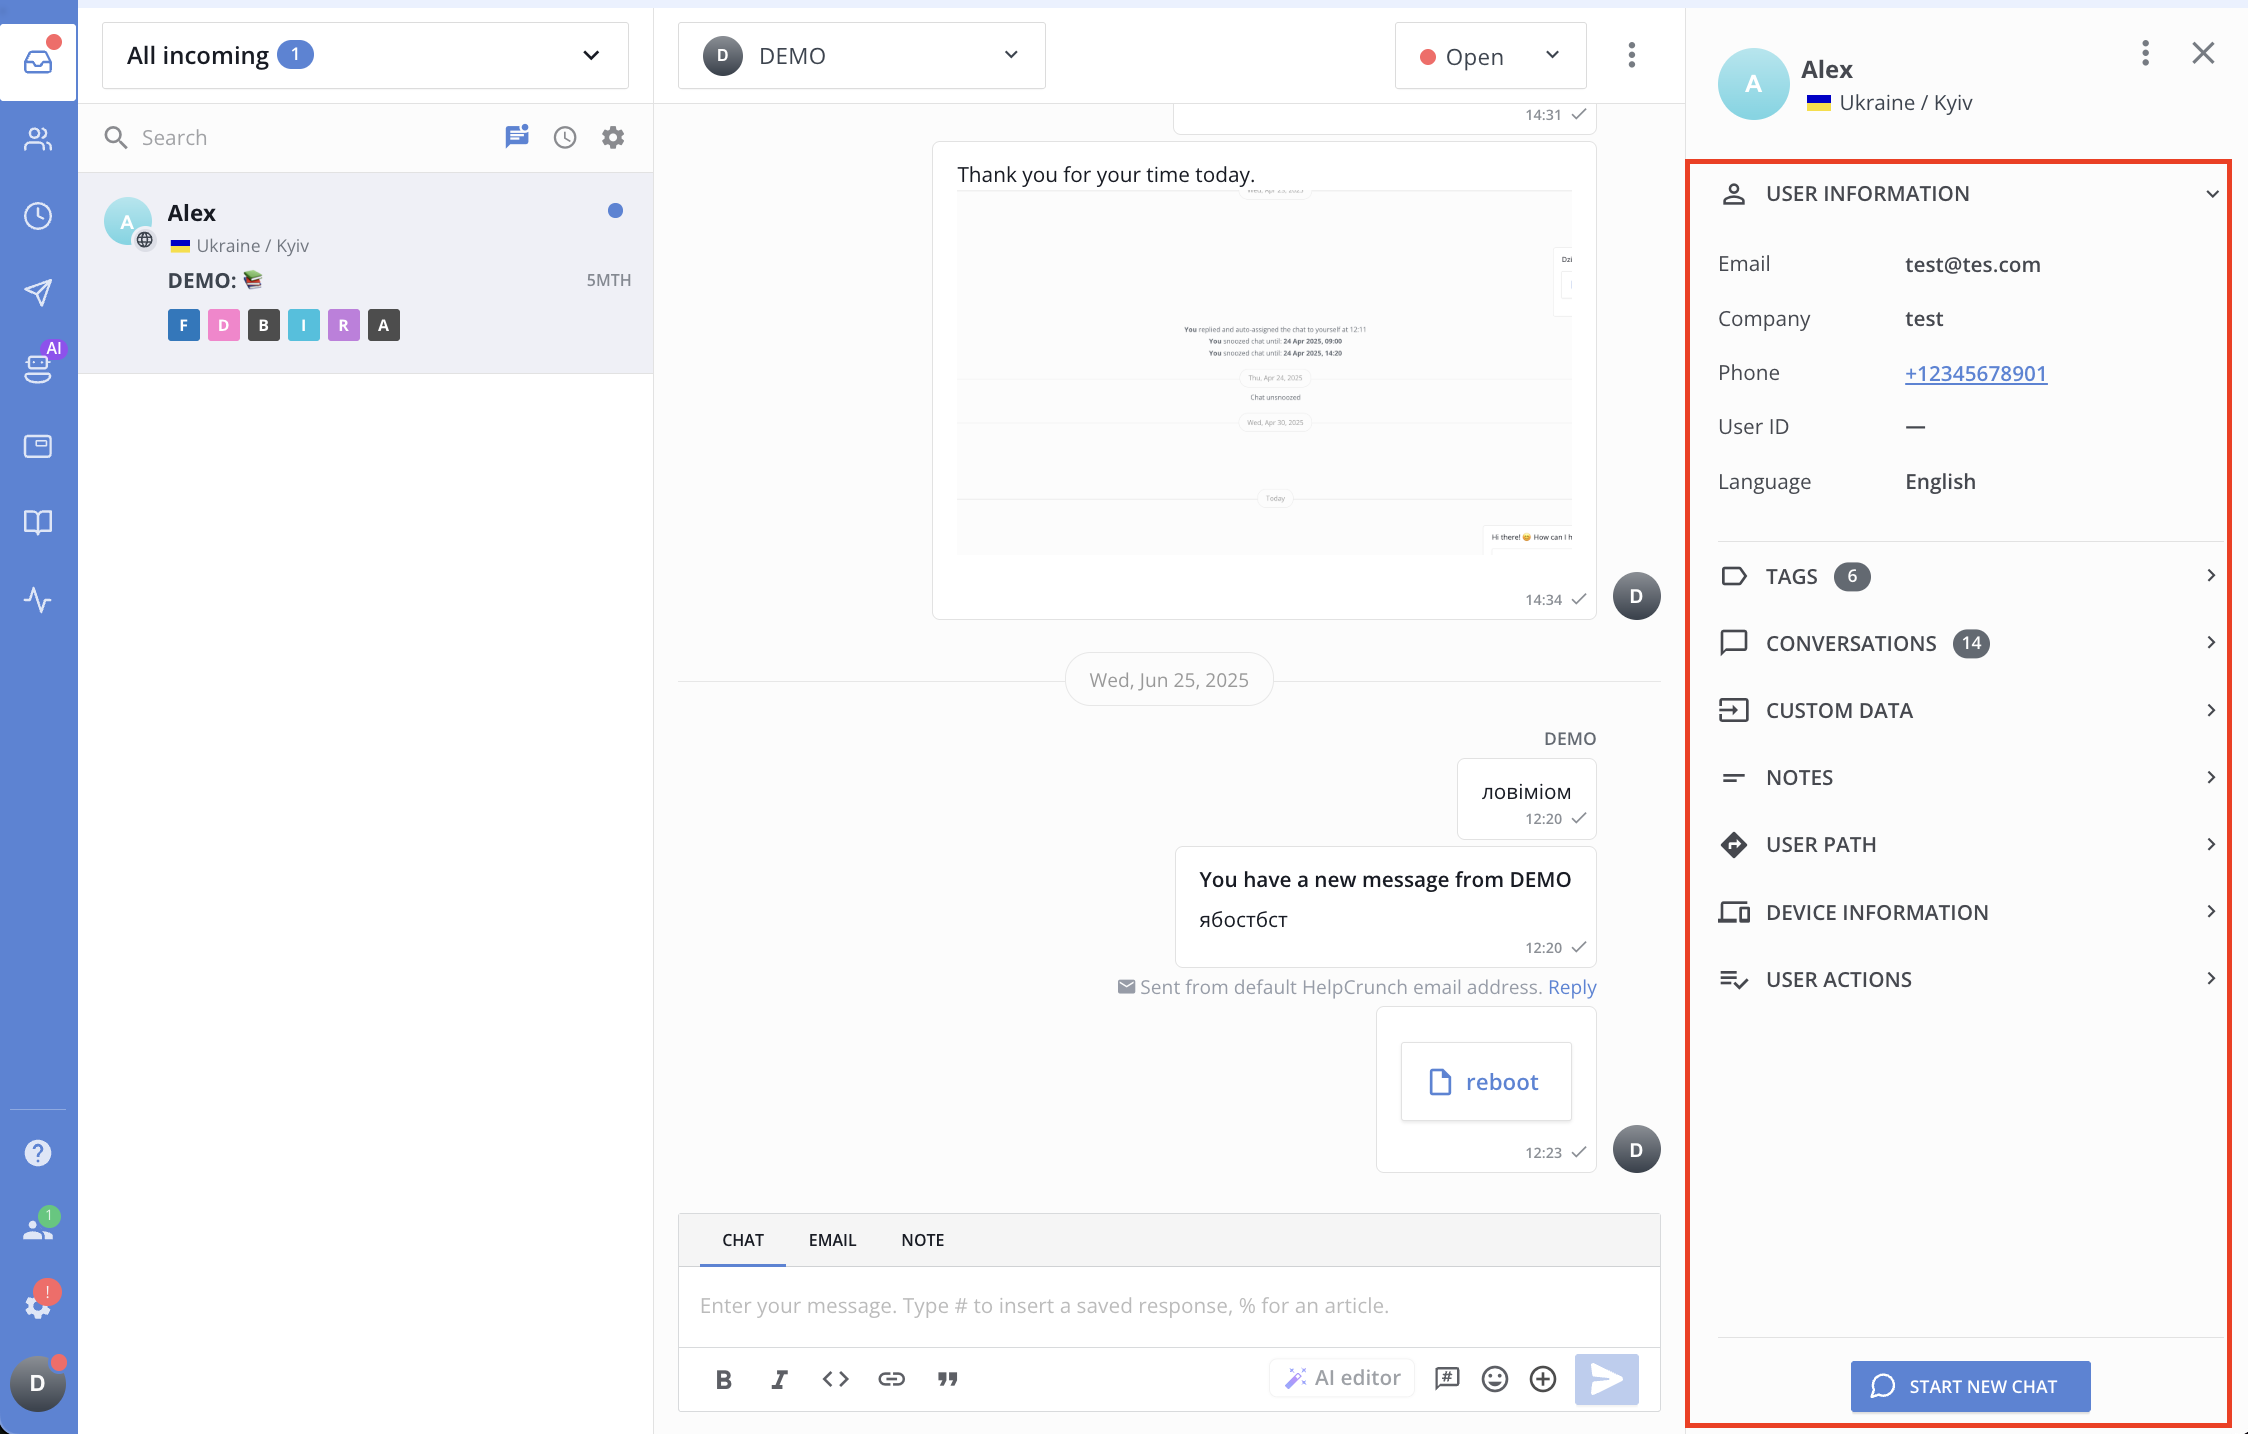
All in all, the HelpCrunch Inbox is organized in 3 columns, where the first column contains the list of all your chats, the second column accomodates your actual conversation, while users profiles with all the necessary information lie under the third column.
Chat list settings
Each team member can change how the HelpCrunch Inbox will look like. By default, each chat from your list of chats contains a customer’s name and the last messages from the conversation.
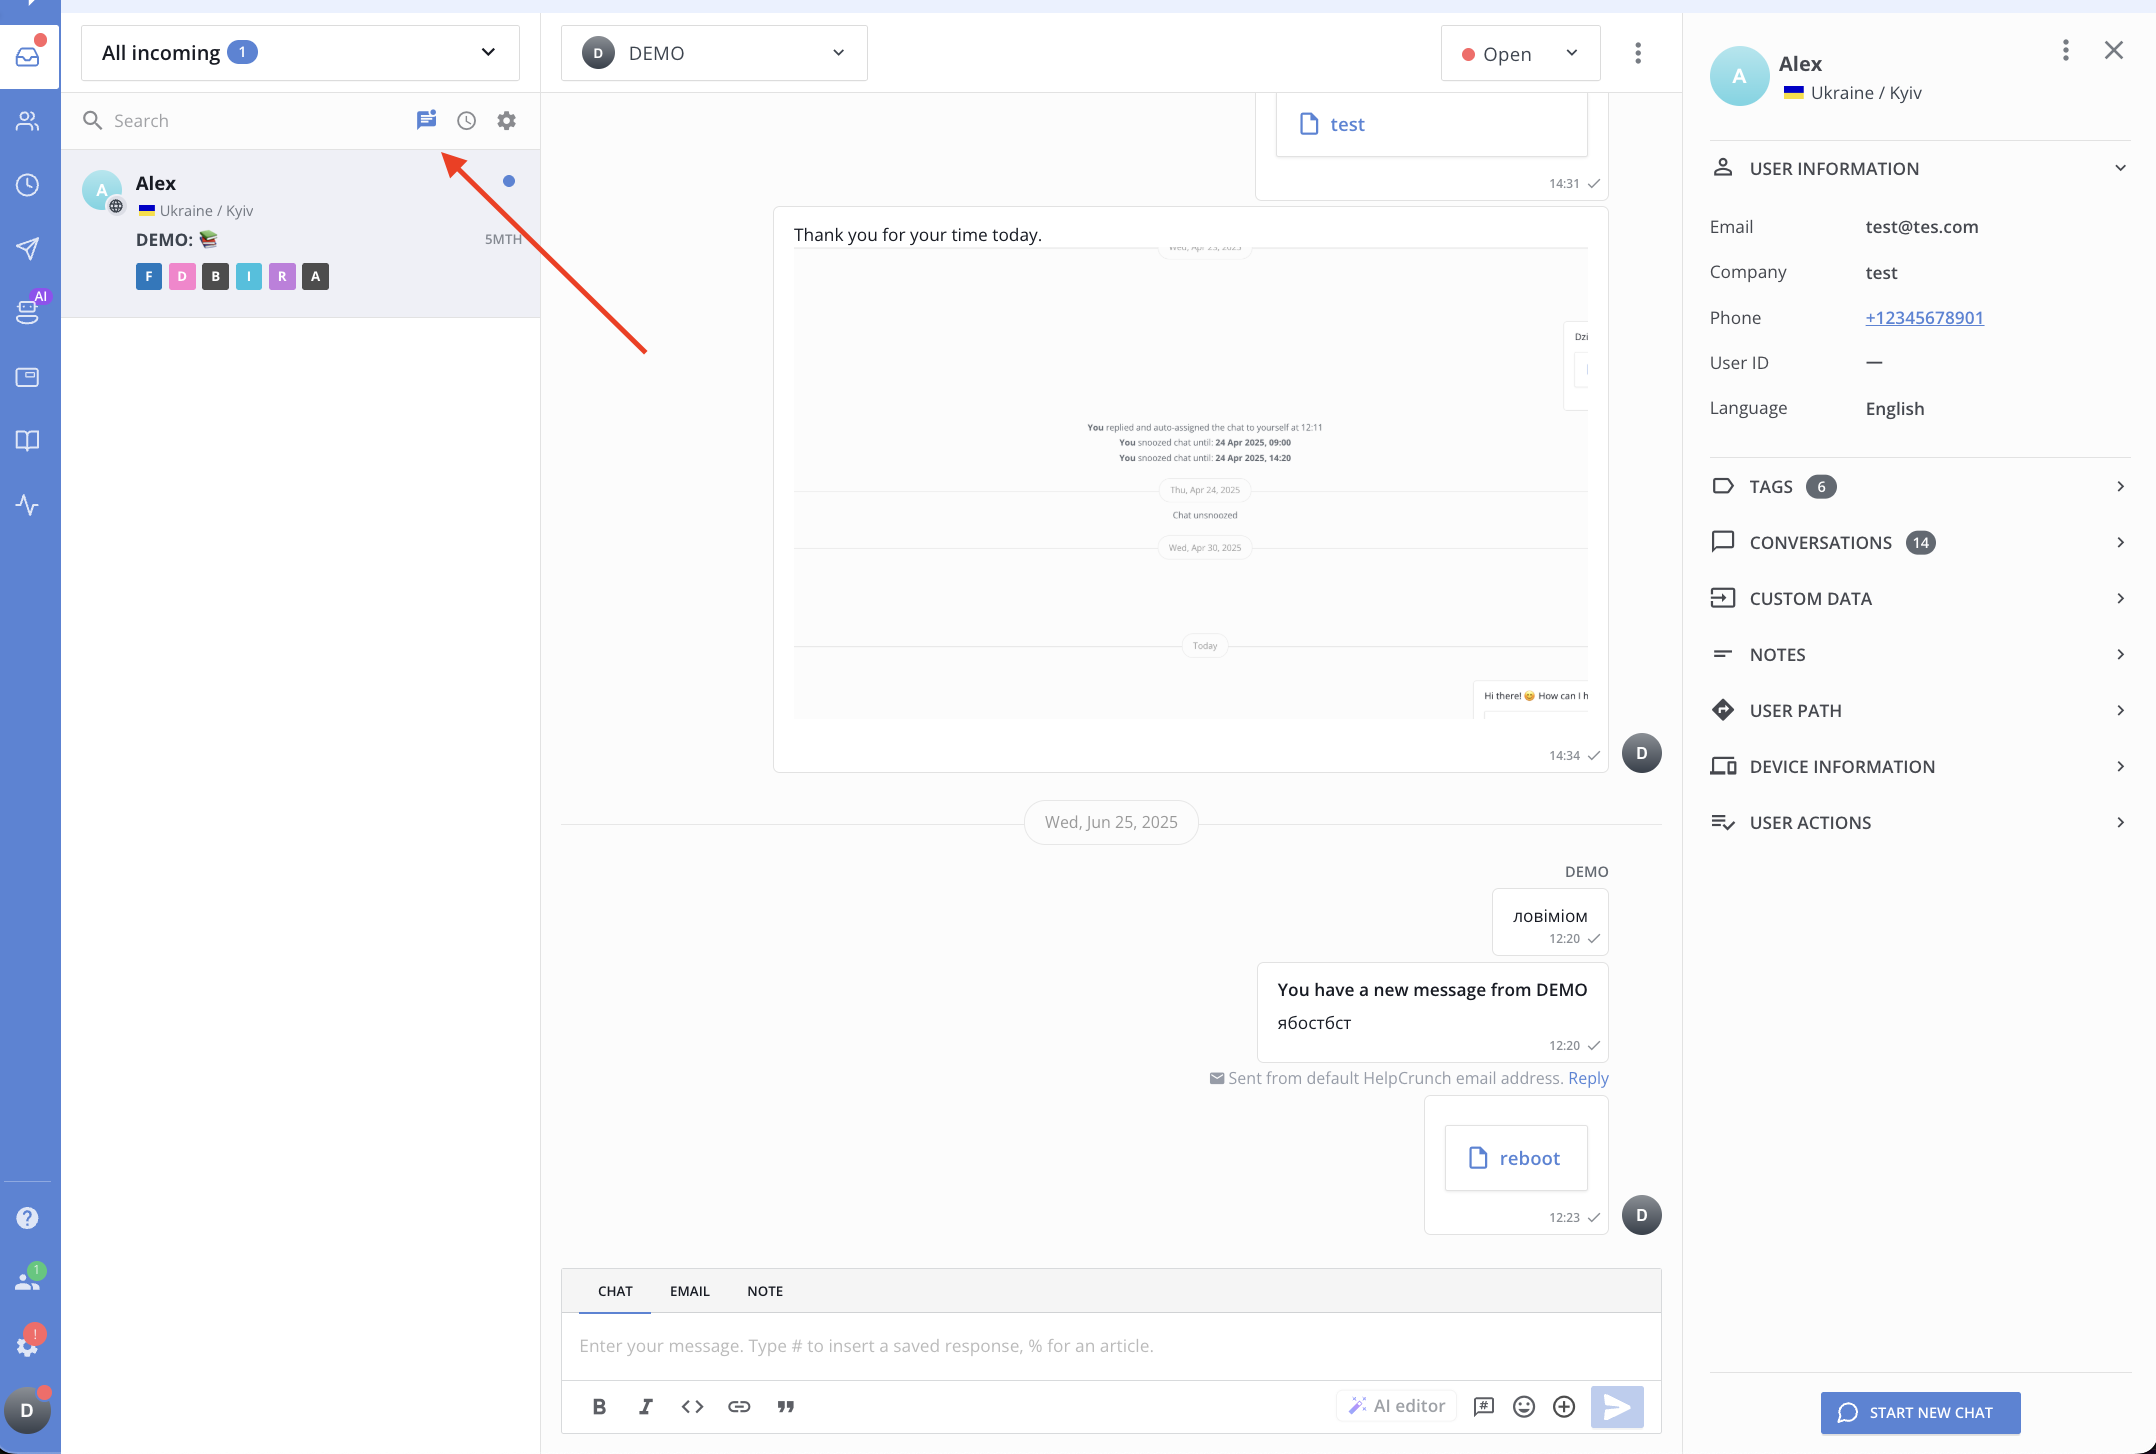
With the help of the chat list settings, you can choose other attributes that you want to see in your chat list: e.g. tags, locations, customer avatars, emails, last visited pages, etc.
Once you apply the new settings, they will be visible only to you and won’t affect how your shared inbox looks like for the rest of the team.
The ‘Unread’ filter
If you want to see the list of all the unread messages in your inbox, just use the corresponding filter:
User profile
Each conversation contains a detailed user profile with all the necessary information about them. It’s divided into 8 sections: user information, tags, conversations, custom data, notes, user path, device information, user actions.
You can minimize this sidebar by clicking the exit icon.