Overview
HelpCrunch Popups are a powerful tool designed to help businesses engage website visitors, capture leads, promote offers, and drive conversions. With a variety of customization options, targeting rules, and automation settings, you can create popups tailored to your audience's needs.
Key Features
1. Advanced Customization
-
Customizable templates for a quick start.
-
Flexible design options: change colors, animation, and overlay.
-
Custom CSS code support for a seamless look on your webpage.
2. Targeting and Triggers
-
Page-based targeting: Display popups on specific pages.
-
Behavioral triggers: Show popups based on user actions (e.g., exit intent, time spent, UTM tags).
-
Audience segmentation: Target popups to specific user groups (visitors from particular countries/cities, new visitors, returning users, customers, etc.).
3. Lead Capture and Integrations
-
Capture emails and other contact details with built-in forms.
-
Seamless integration with HelpCrunch’s live chat, email automation, and CRM.
-
Sync collected leads with third-party tools via the API.
4. Testing and Performance Tracking
-
Test different popup variations to optimize conversions.
-
Track key metrics like the number of displays and clicks for detailed analytics.
How to Set Up a Popup in HelpCrunch
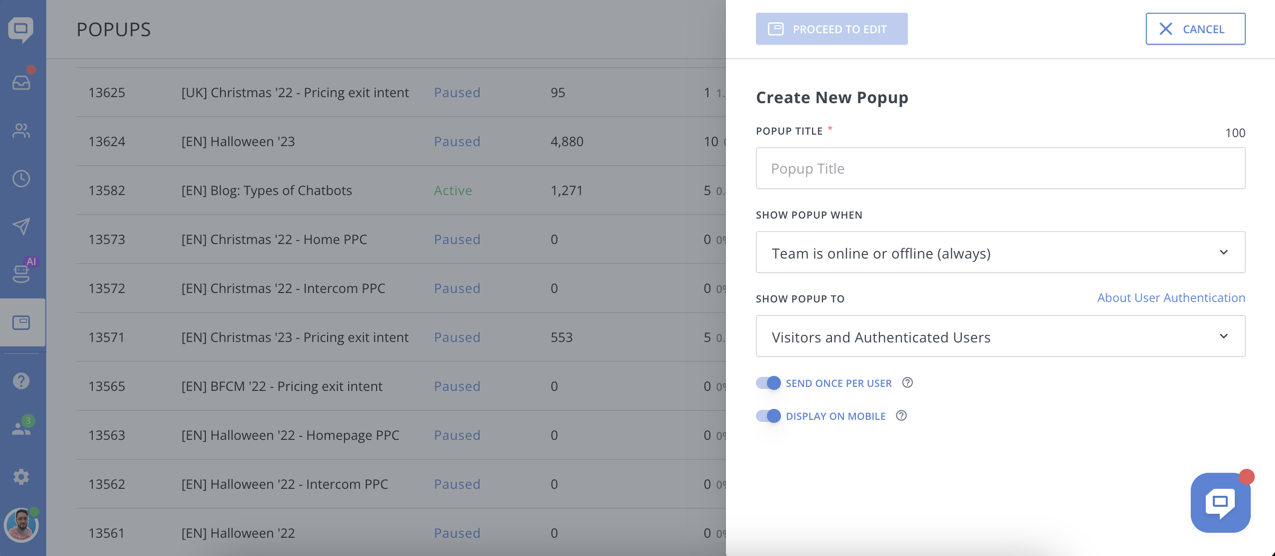
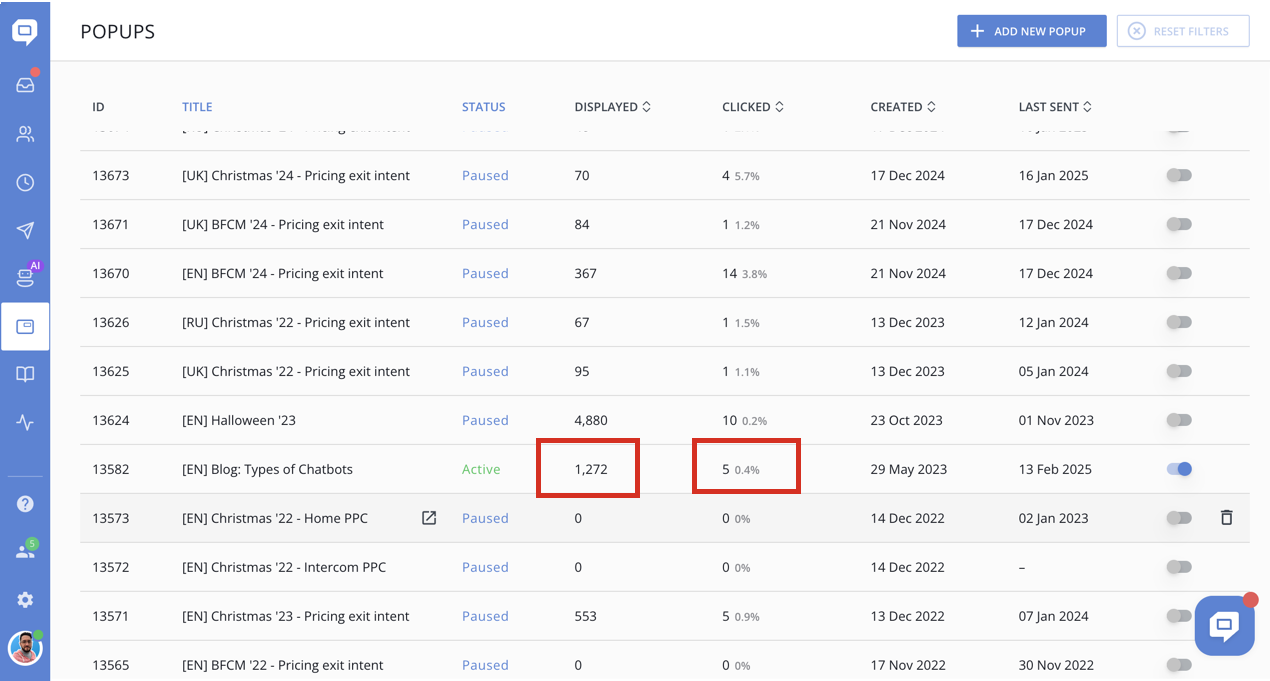
1. Create a New Popup
-
Go to the Popups section in your HelpCrunch dashboard.
-
Click Add New Popup.
-
Specify its title and whether you want to display it when the team is online/offline or always.
- Select your audience: visitors, authenticated users, or both groups (read more about the user auth mode).
-
Decide if the user needs to view a popup each time the conditions are satisfied or only once, and consider whether it should be displayed on mobile browsers.
- Click Proceed to edit
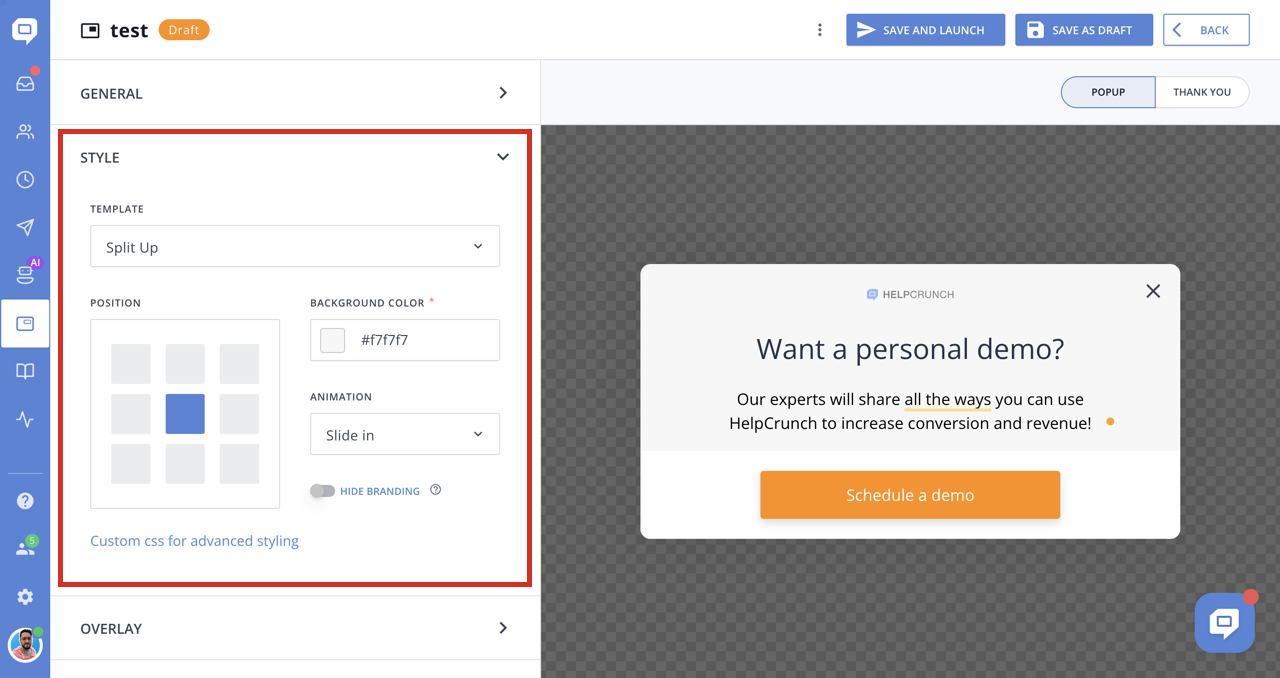
2. Customize the Style and Overlay
- Popup text can be edited right in the preview window on the right. Button text and actions can be modified in the corresponding section on the left.
-
You can select one of the templates from the list and select the popup position on the screen.
- Change the background color and animation, and hide branding if such an option is available in your subscription plan.
- For more advanced customization, you can switch to the Custom CSS section and write the CSS code to make it look more seamless on your webpage (Make sure that the Custom CSS option is included in your pricing plan).
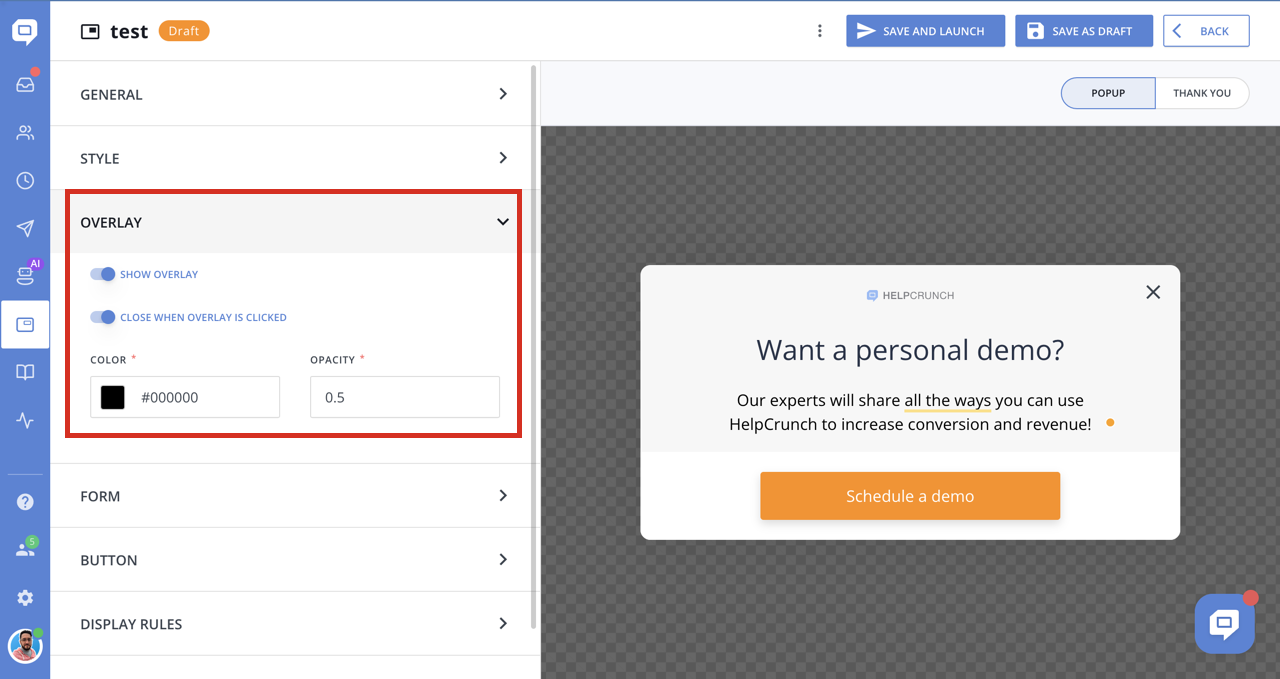
- Overlay settings such as color and opacity can be changed in the corresponding section.
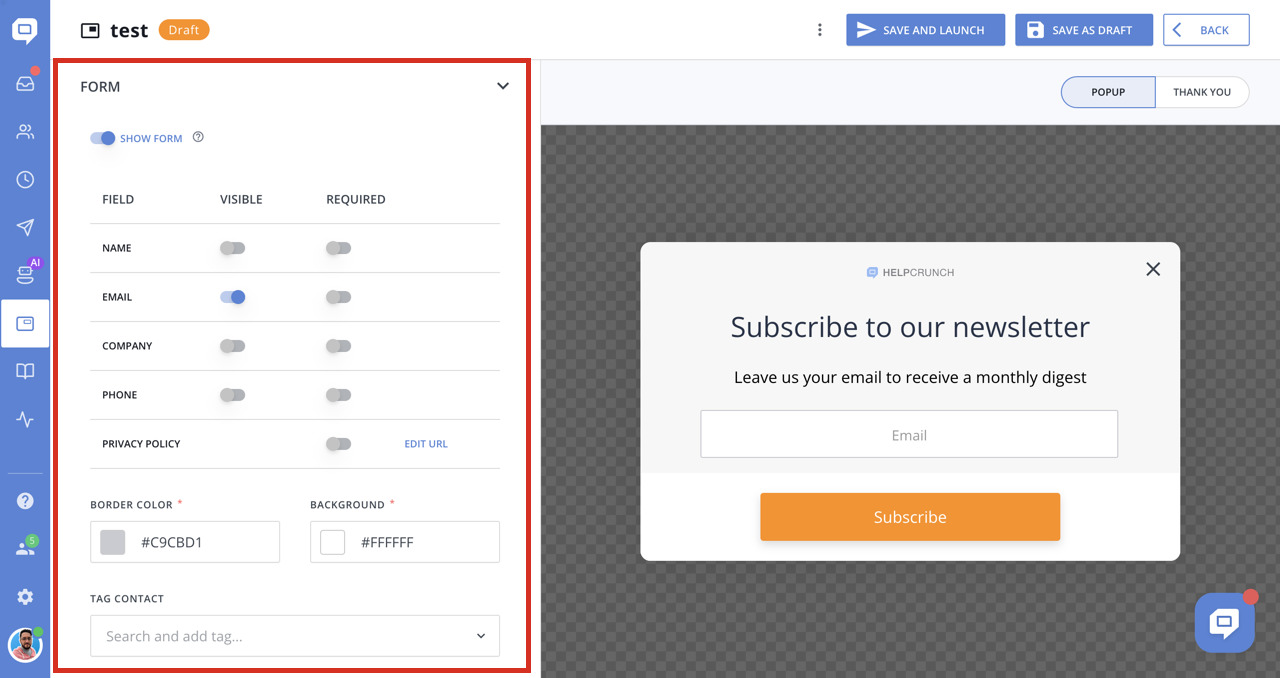
3. Configure form fields to capture leads
-
To collect emails, for example, for a newsletter, you can enable the email field in the form and configure the button text and action in the next section.
- You can also automatically tag contacts that were created from the form in order to distinguish between them easily and not mix them with your user base. Simply select one of the tags from the list or create a new one.
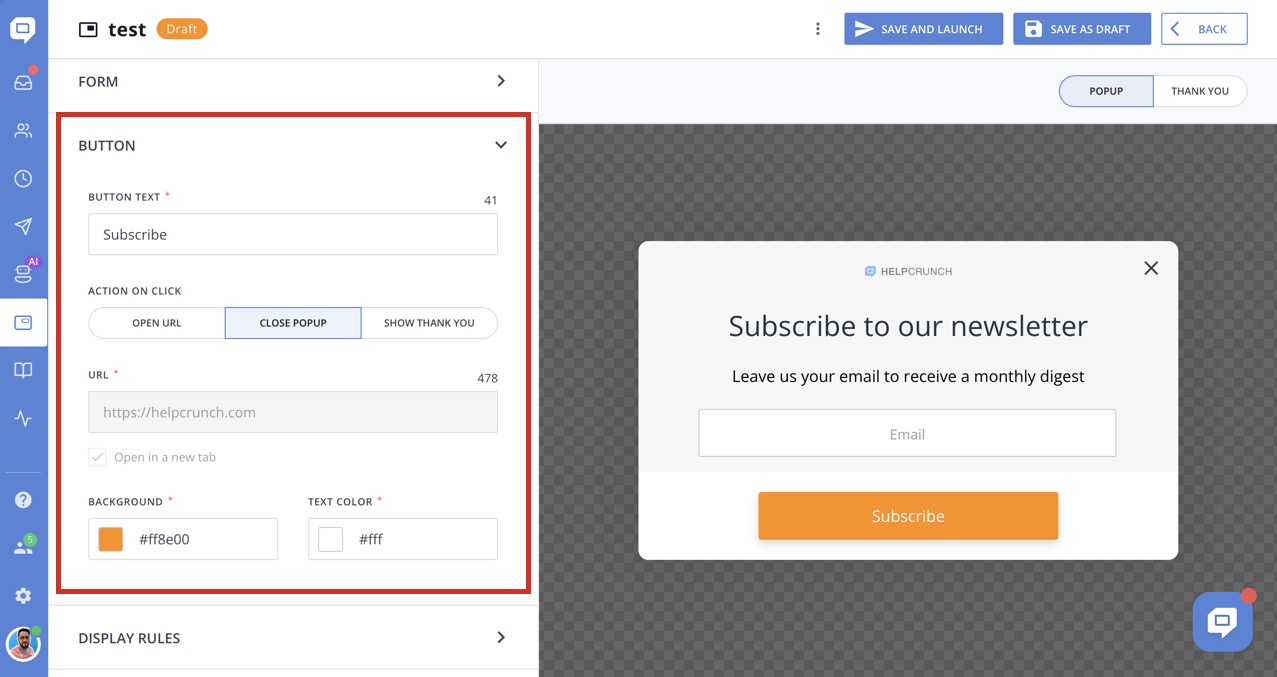
4. Button Customization
-
Button Text: Allows you to set the text displayed on the call-to-action button (e.g., "Subscribe").
-
Action on Click: Determines what happens when the user clicks the button:
-
Open URL: Redirects users to a specified URL.
-
Close Popup: Dismisses the popup without further action.
-
Show Thank You: Displays a "Thank You" message.
-
-
URL Field: If "Open URL" is selected, this field defines the destination URL (e.g., https://helpcrunch.com).
Open in a New Tab: Checkbox to open the URL in a separate browser tab.
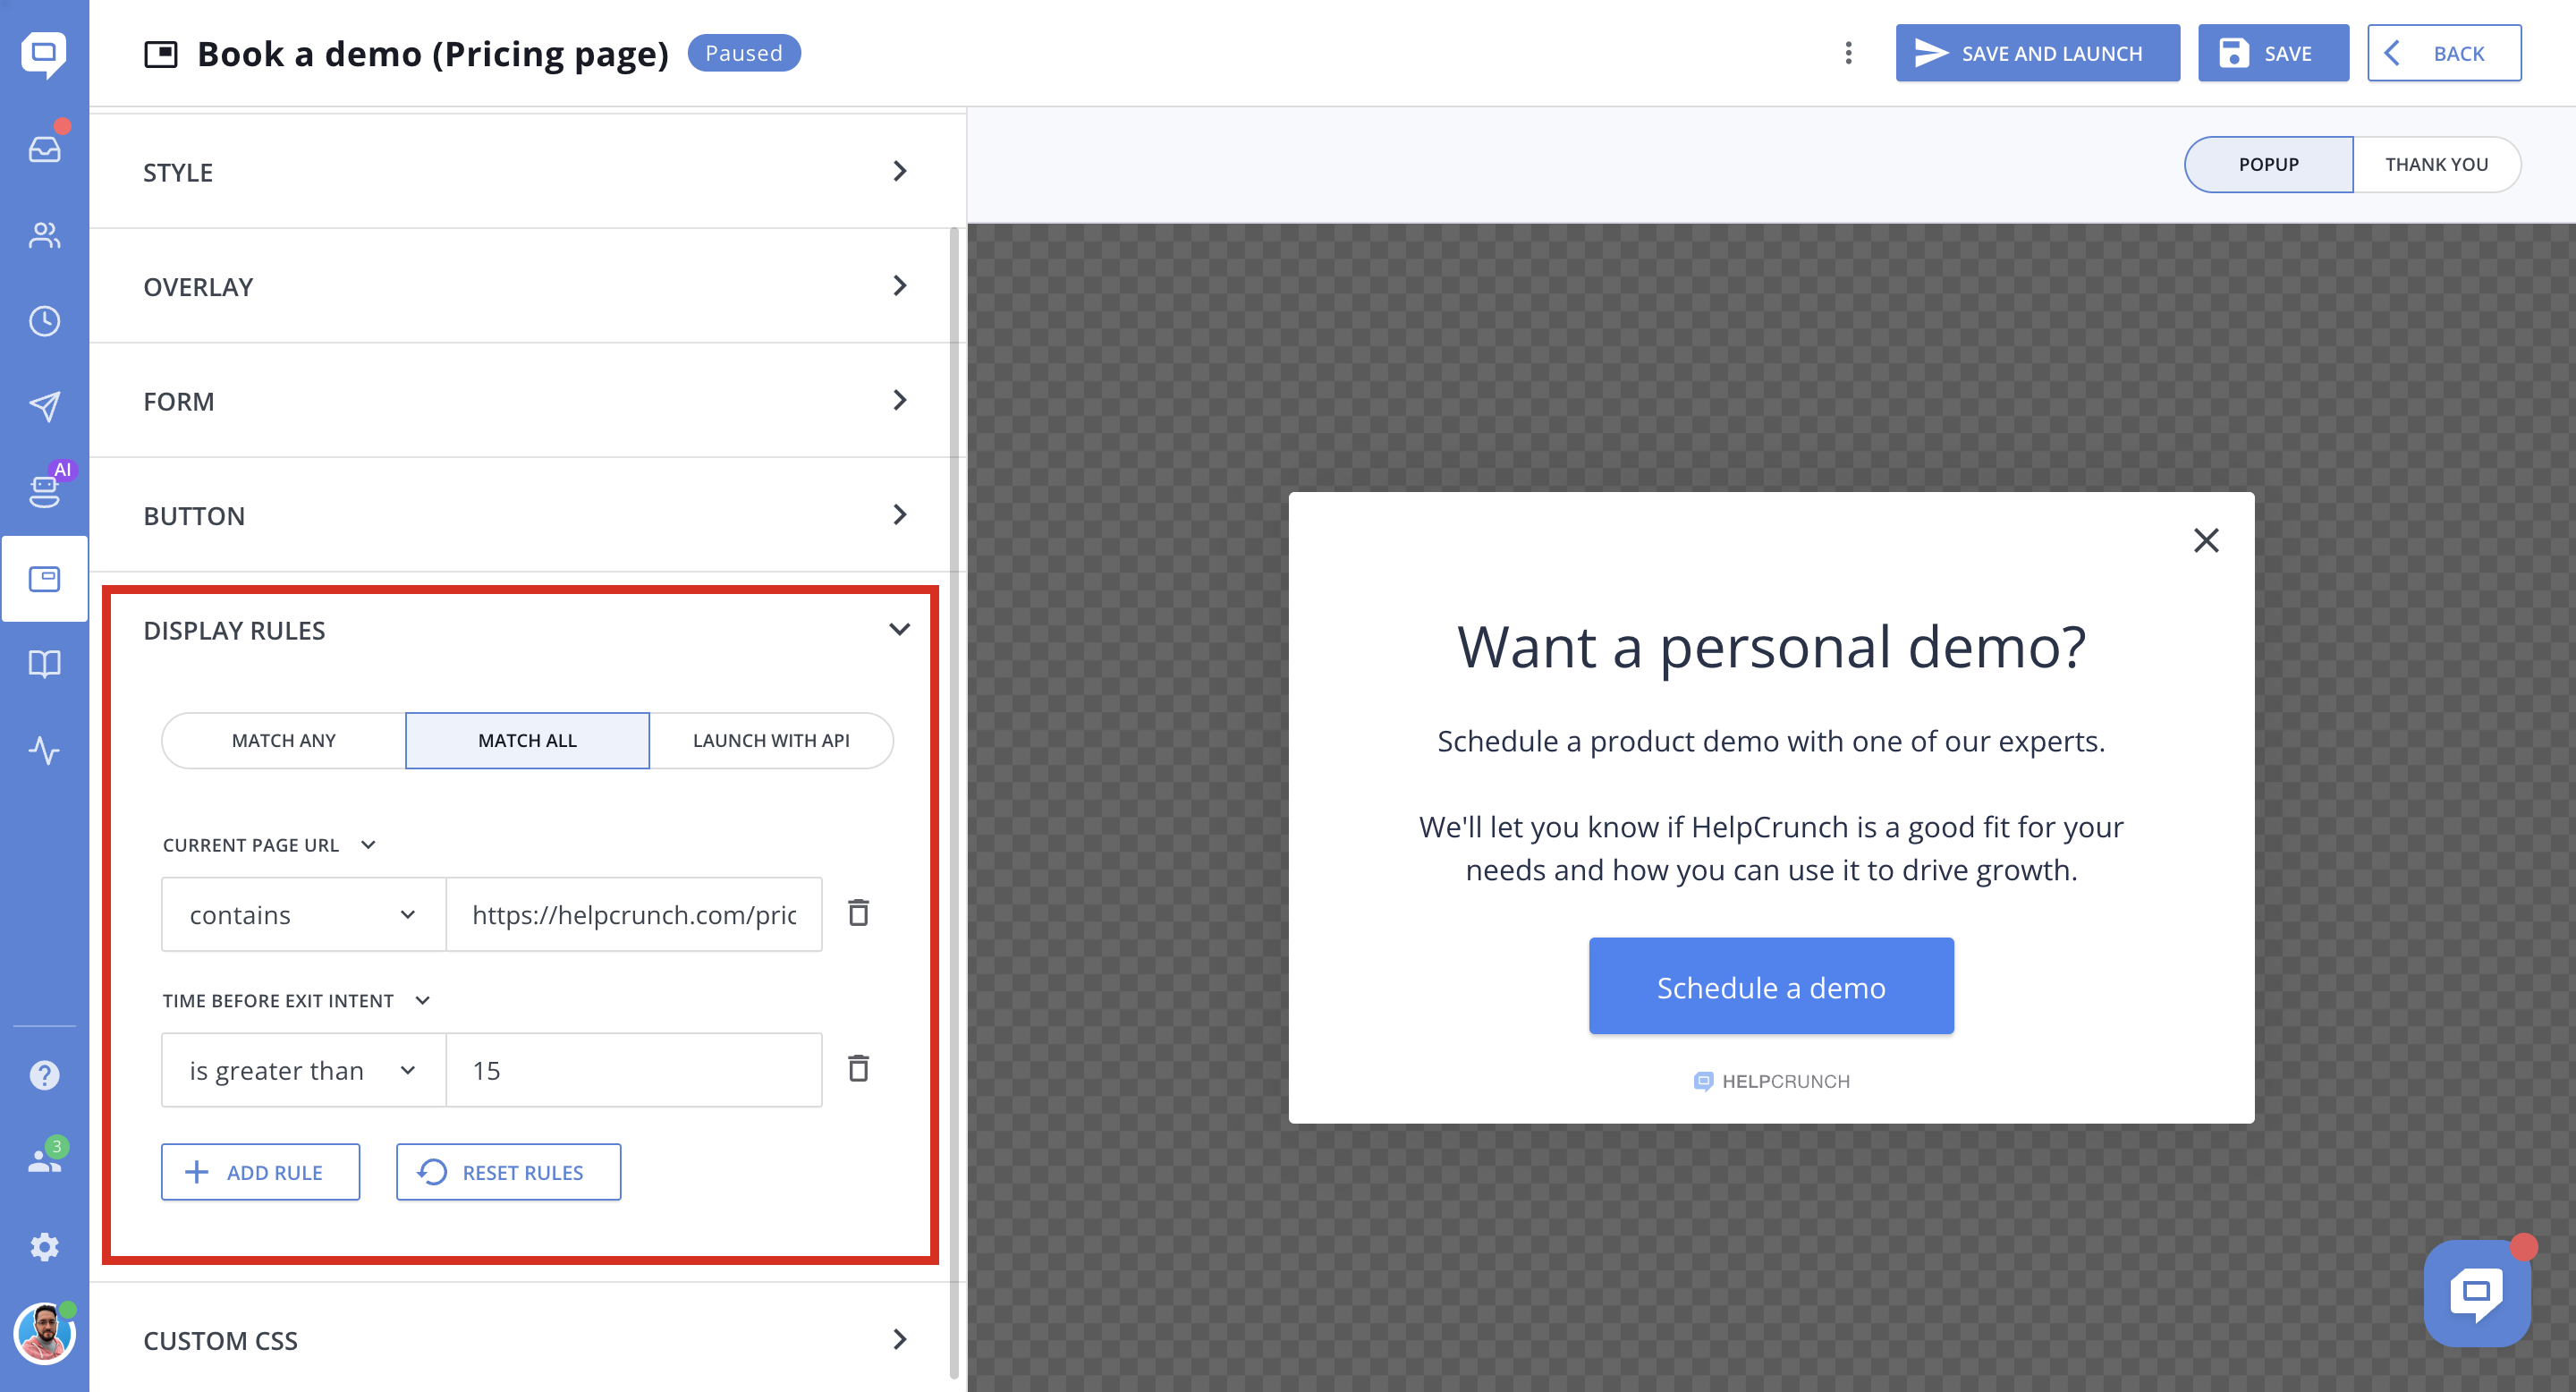
5. Define Display Rules (Required)
-
Set up page-based targeting rules or choose behavioral triggers (exit intent, time on page, etc.).
-
Combine multiple rules with Match ANY/Match ALL operators for more precise engagement.
- Alternatively, popup can be launched via the JavaScript API
6. Launch and Optimize
-
Preview the popup to ensure it looks and functions correctly.
-
Click Save And Launch button.
-
You can monitor performance metrics in the list of popups.
Best Practices for Effective Popups
-
Keep it concise: Use clear and compelling messaging.
-
Offer value: Provide discounts, exclusive content, or useful resources.
-
Optimize for mobile: Ensure your popups look great on all devices.
-
Use exit intent wisely: Reduce bounce rates by engaging leaving visitors.
-
Test and iterate: Continuously analyze data and refine your strategy.