The Assignment rules allow for automating customer communications, avoiding pell-mells in your Inbox, and reacting to clients' requests at pace. You can auto-assign:
New incoming chats – to a department or an agent;
Chats with reply to a chat Auto/Manual Message – to a department or an agent;
Tags – to a contact.
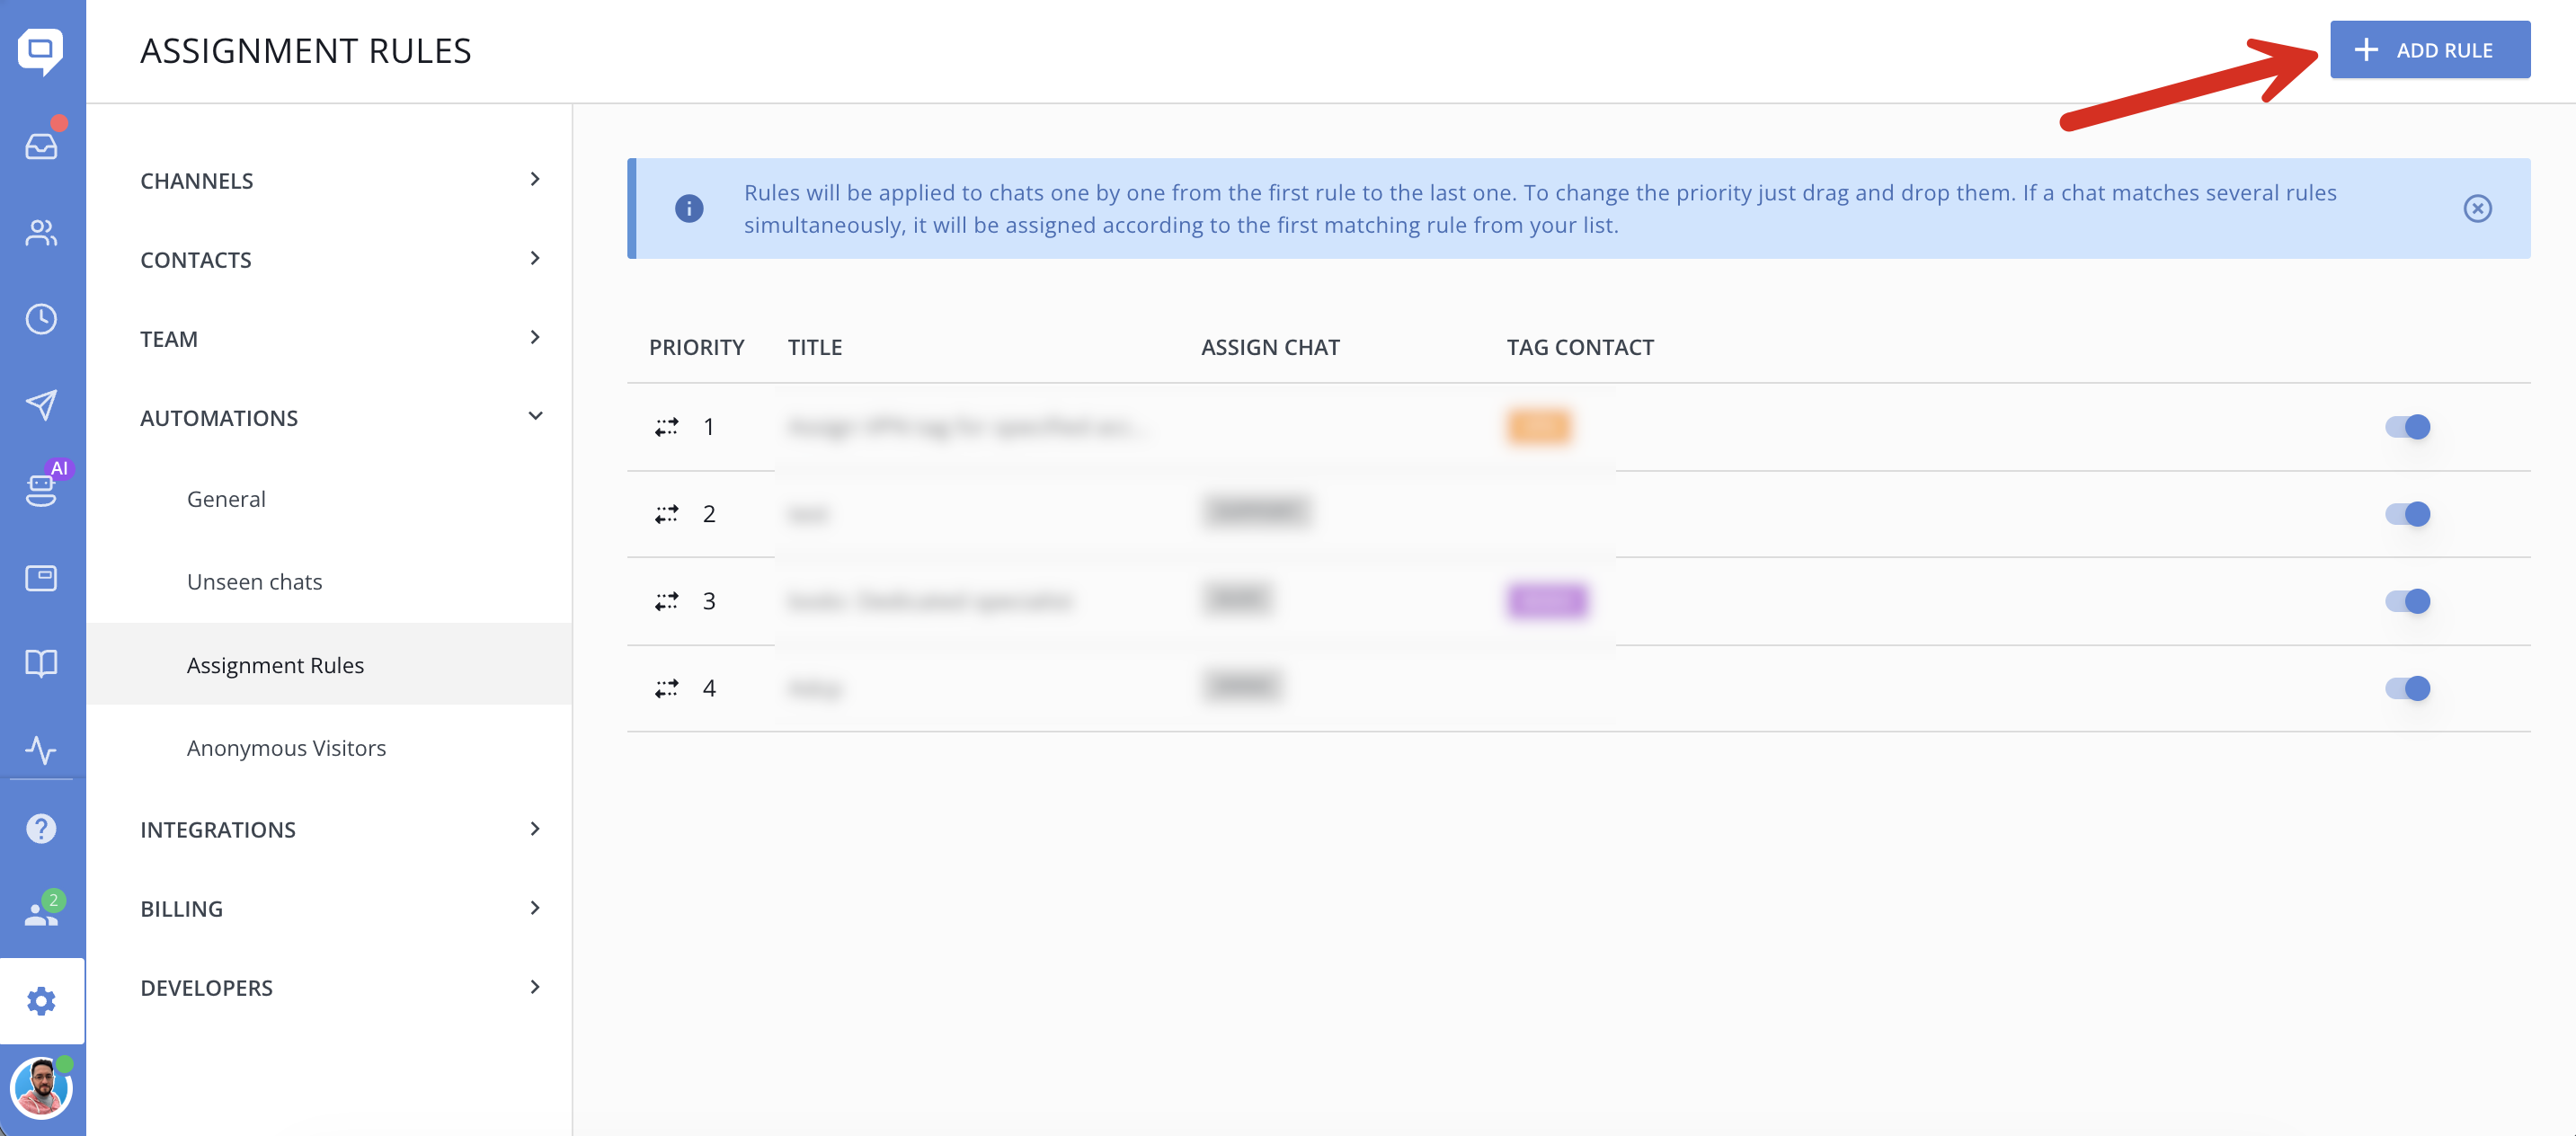
How to add an assignment rule
To create a new assignment rule, go to Setting → Automations → Assignment Rules and click 'Add rule':
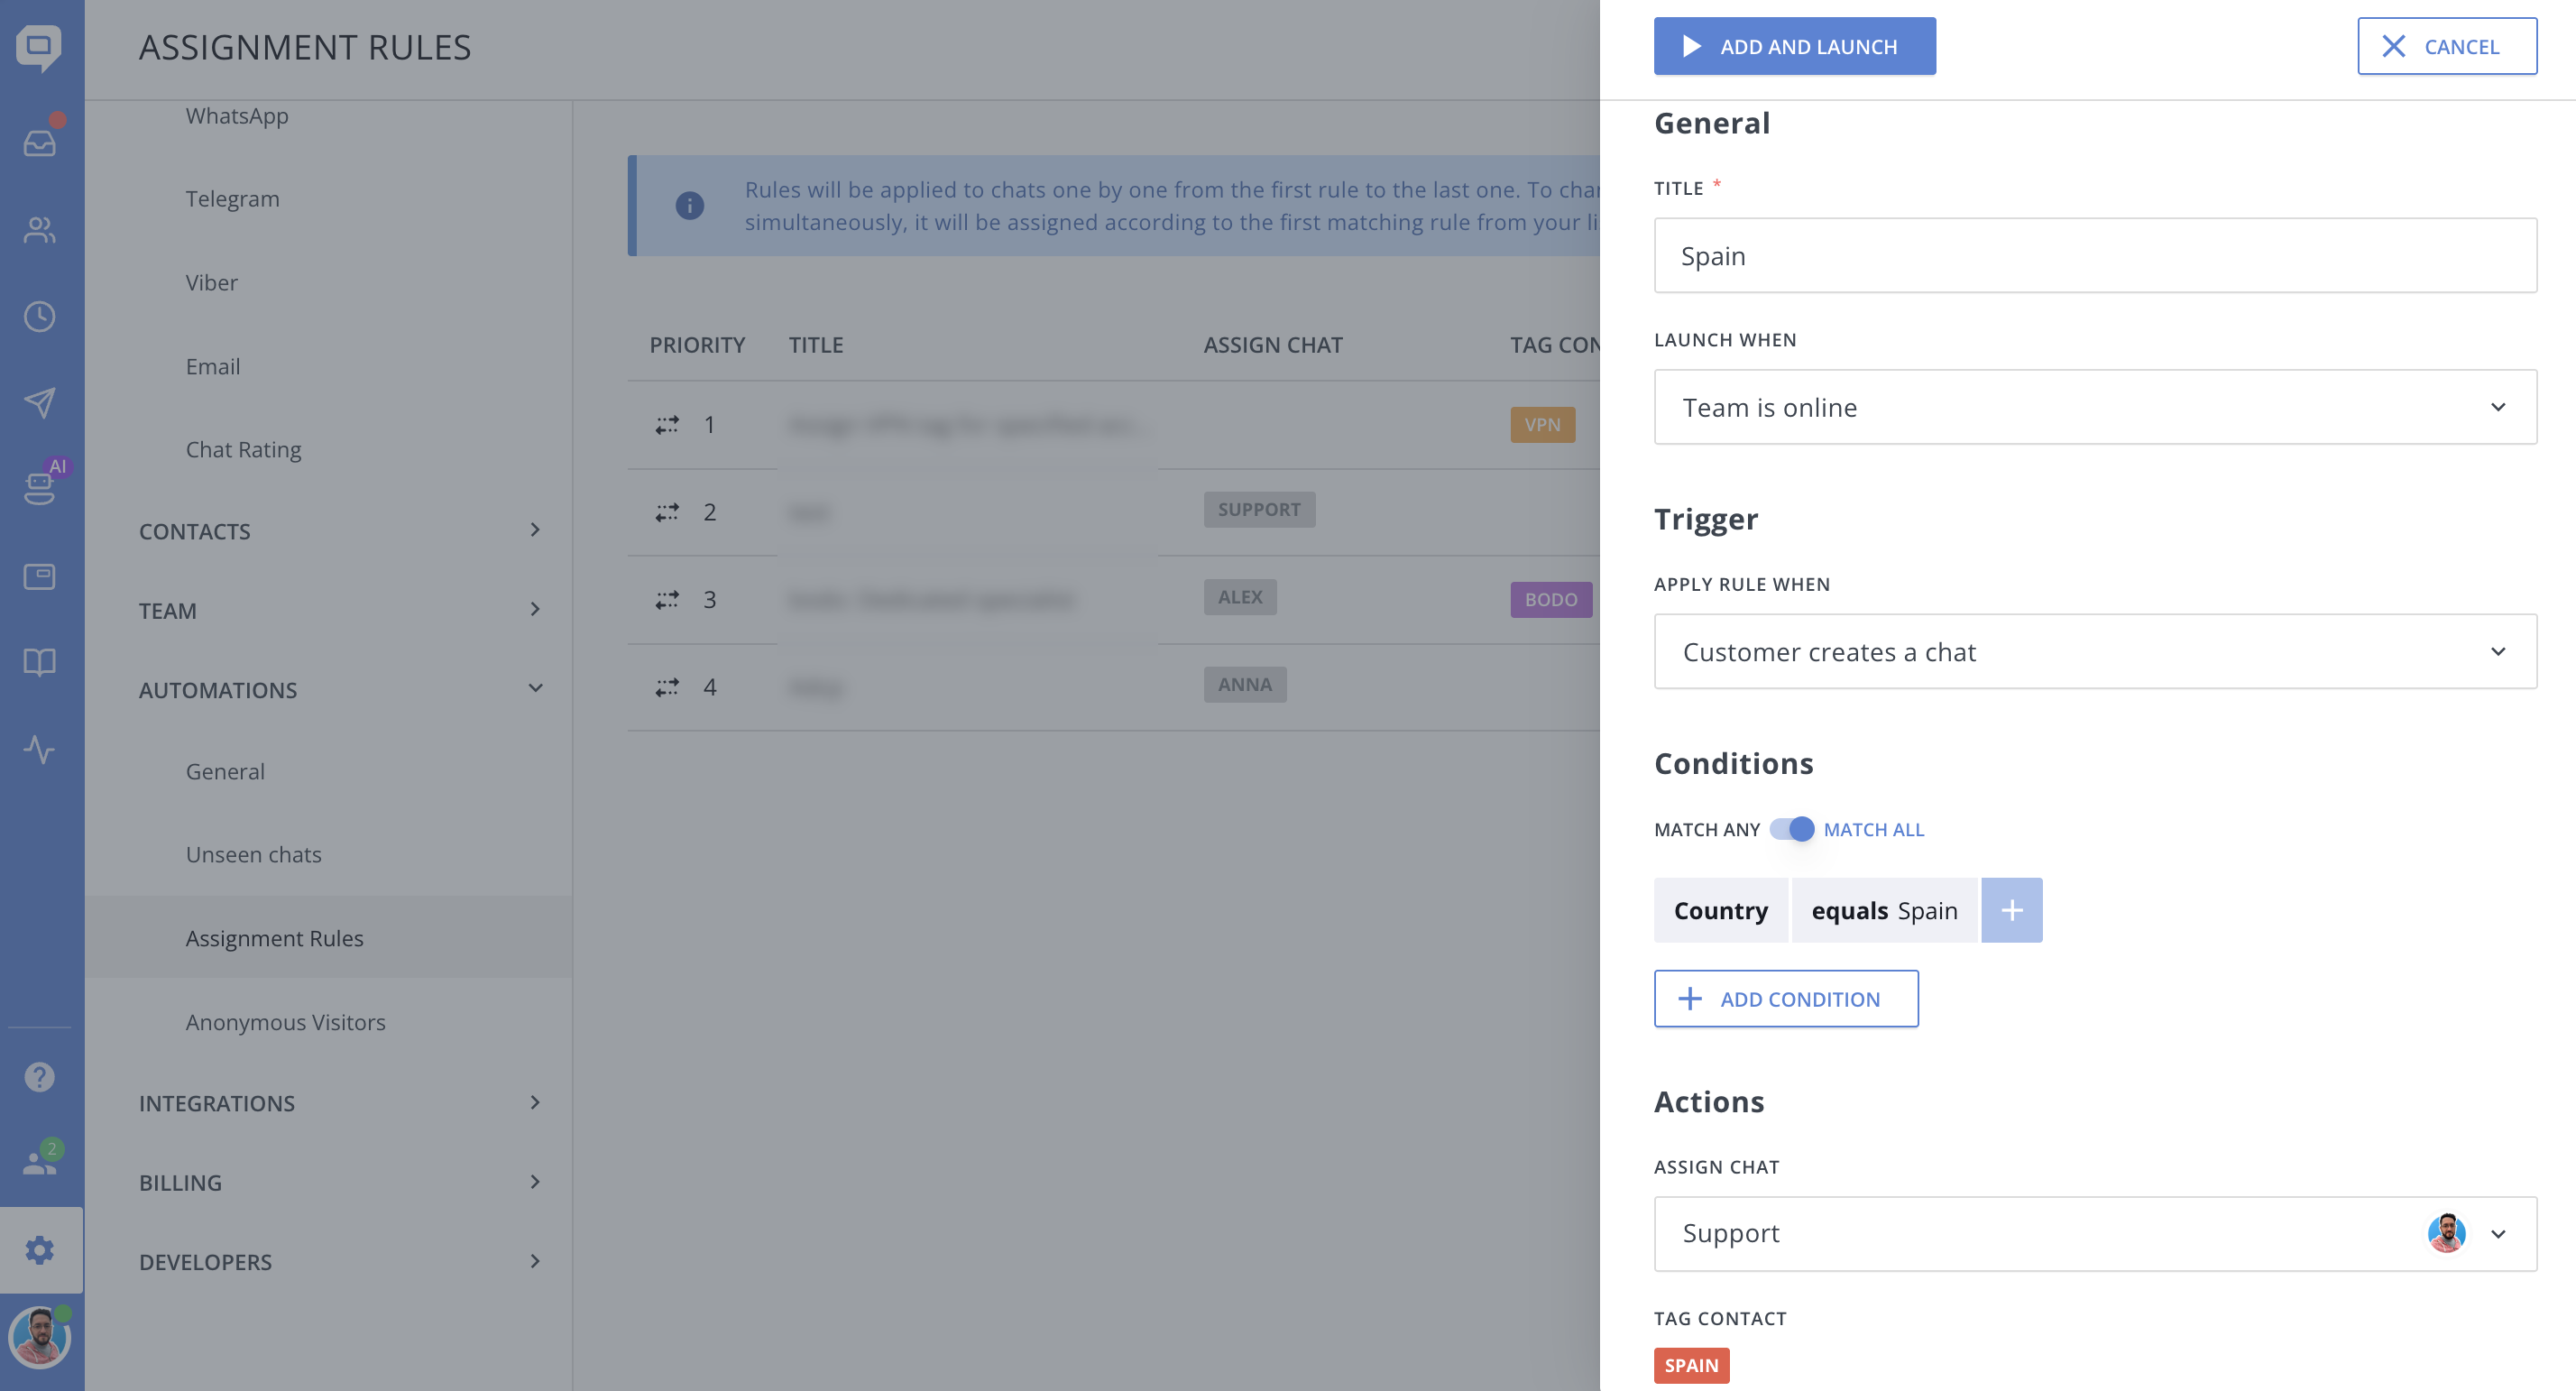
General
Title – a name for your rule to differentiate it among other rules.
Launch when - depending on your team availability, can be launched when:
- Team is online
- Team is offline
- Team is online or offline (always)
Trigger
Apply rule when – an event that would trigger a rule:
- Customer creates a new chat – a rule would be applied once a chat is created;
- Customer replies to a chat Auto/Manual Message – a rule would be applied once a contact replies to a Targeted Chat or chat Manual Message.
Conditions
Narrow down the audience by adding conditions with a contact attribute:
- Default attributes, like email, company, tag, or visits;
- Custom data attributes that you forward to HelpCrunch.
Actions
Assign chat – choose a chat assignee, a team member, or a department.
Tag contact – choose tags you want to assign to a contact.